
Step 1: Navigate to Giving Batches
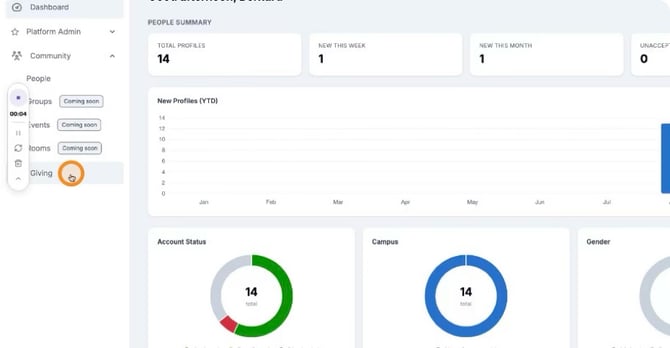
From the illume main navigation, select Giving.
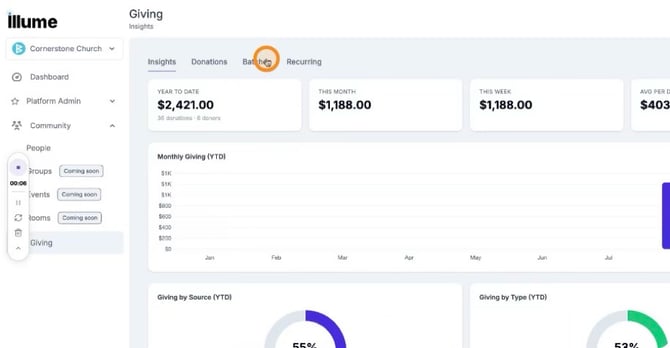
 Then click Batches to open the giving batches area.
 Step 2: Start a New Giving Batch
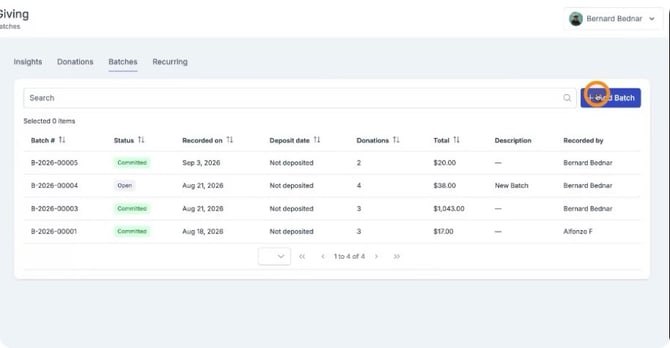
Click Add Batch to begin creating a new batch. On the batch setup screen, enter a clear description for the batch. Then input the deposit date for this batch.
Step 3: Enter Donations in the Batch
Scroll to the donations section to begin entering individual donations.Choose whether the donation is anonymous or associated with a specific user.
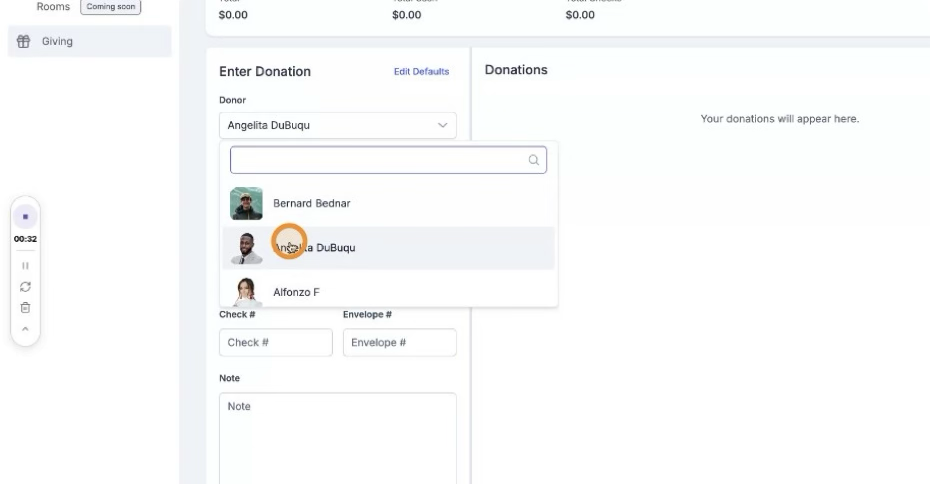 Select the fund the donor is giving to.
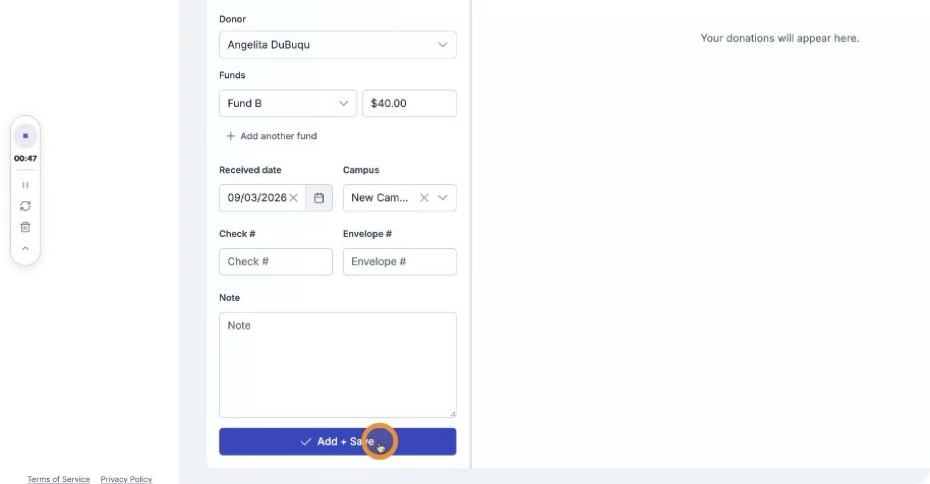
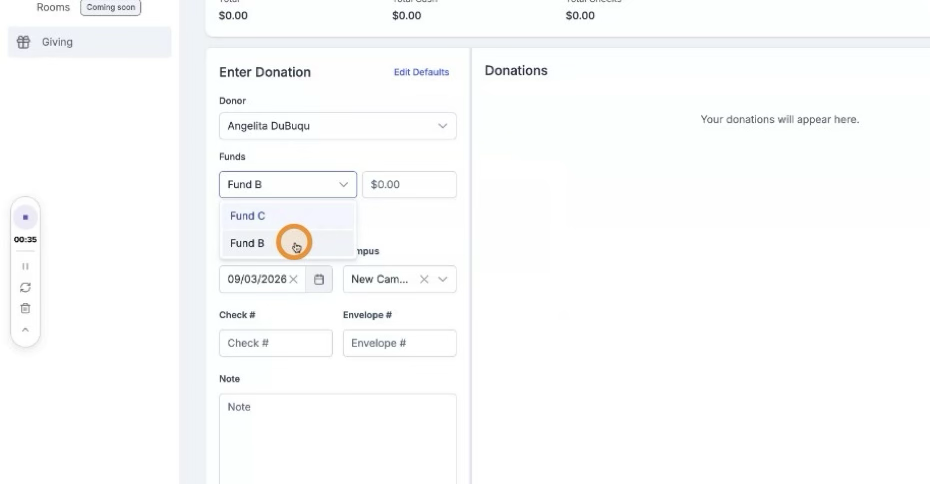 Enter the amount of the donation. Specify the date received. Select the campus.
Optionally, add the check number and envelope number, and create a note if needed.
When the donation entry is complete, click Add and Save to add it to the batch.
 Step 4: Configure and Use Default Values
To speed up data entry for multiple donations, open the defaults panel by clicking Edit Defaults.
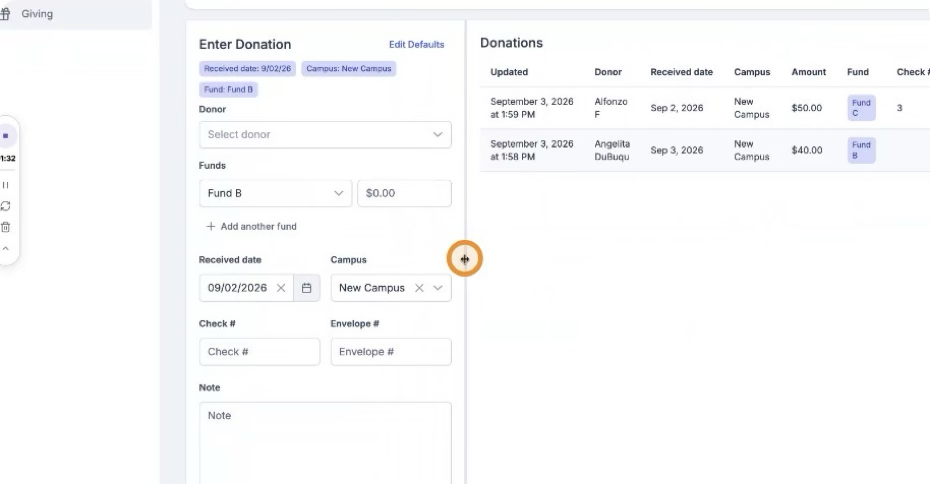
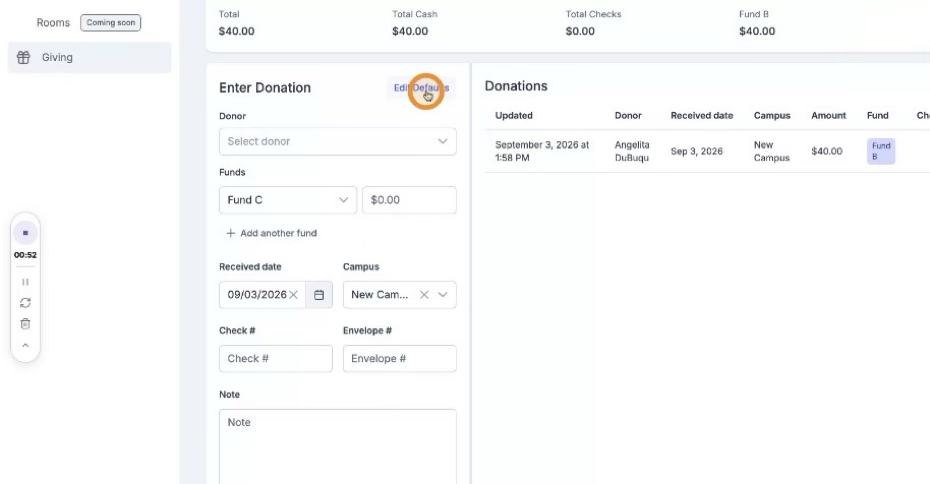 Set a default date received for gifts. Set a default campus. Set a default fund for donations in this batch. Now, when you input another donation, these default values will already be populated.
The batch totals will update at the top of the screen as you go.
If you want to adjust your view, drag the menu divider to show more or less of the donation entry area.
 Step 5: Edit Individual Donations in the Batch
When needed, click on any donation in the list to edit its details.
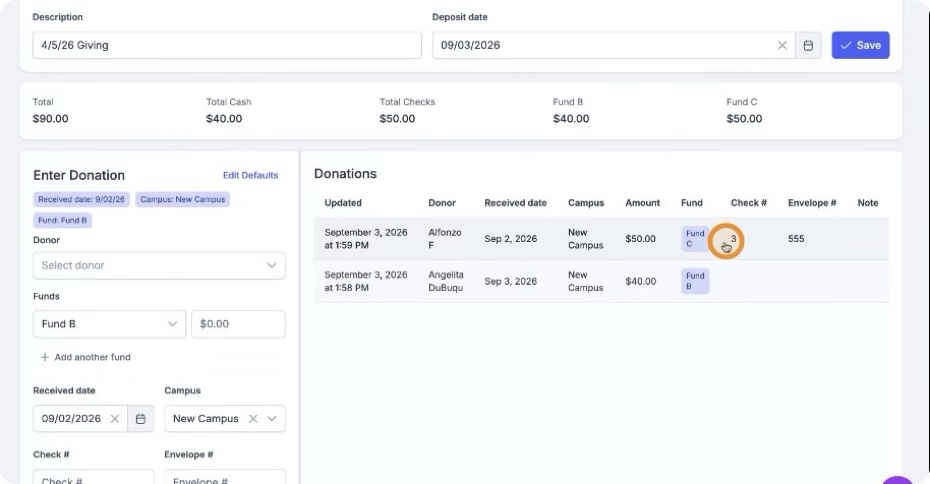 Update any fields such as amount, fund, date, campus, or notes. After making changes, select Save for that donation.
To save the entire batch, click the Save button at the top of the page.
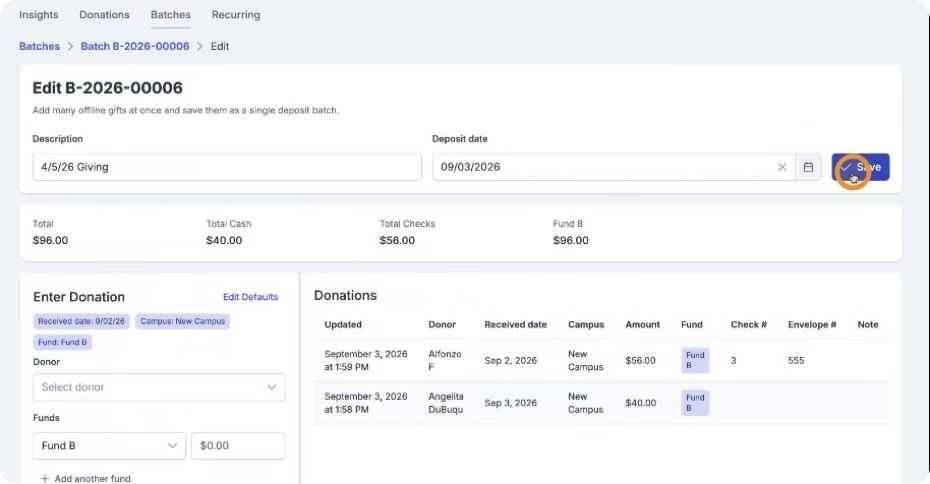 Step 6: Review and Manage Saved Batches
Return to the Batches view to see your list of batches.
Locate the batch you just worked on; it will be visible in the batch list.
Click the Action menu for that batch.
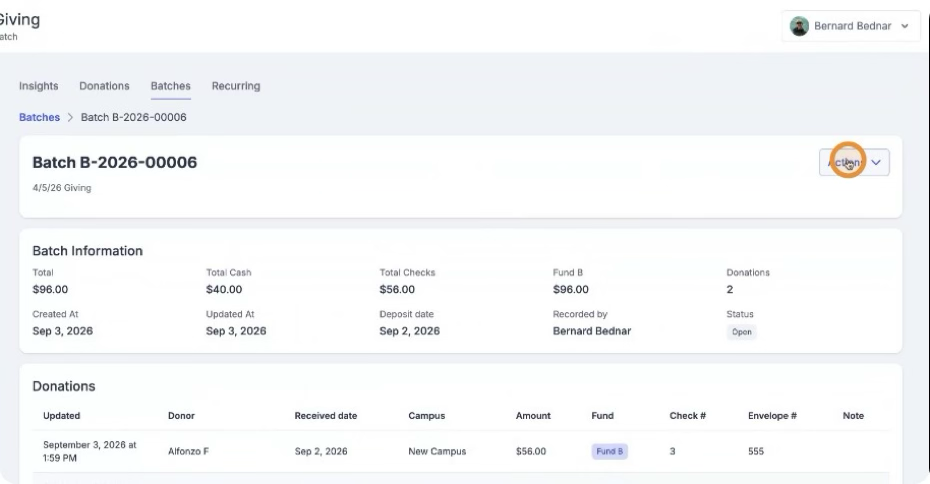 From the Action menu, you can:
- Edit the batch
- Commit the batch
- Export the batch to a CSV file
- Generate a batch report
- Delete the batch
When committing a batch, note that this action cannot be undone.
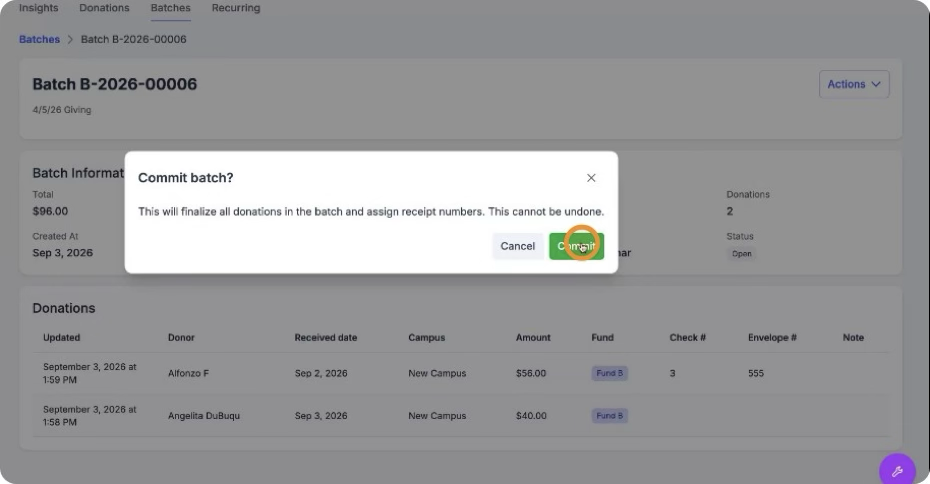
You will see the status of the batch in the lower right-hand corner of the batch information section.
You can then view all of your batches in this area and edit them as needed.