
1. The Photo Editor lets you edit images directly in the website builder. You can crop, resize, rotate, adjust colors, and apply filters without needing external software. To start using Photo Editor, click the Media Library tab

2. Select a required image and click the pencil icon to edit it in Photo Editor

Crop
3. Select the Crop icon and specify the crop size. Crop trims the image to remove unwanted areas.
The following options and proportions are available: Custom, Square, 3:2, 4:3, 5:4, 7:5, 16:9, Custom Size. Click "Apply" to confirm the changes

Flip
4. Select the Flip icon to flip the image. Flip mirrors the image horizontally or vertically. If needed, use the Reset arrows to reset the flipped state.

Rotate
5. Click the Rotate icon to rotate an image. Use the 30° icons to rotate the image at a smaller angle. Use the Range bar to rotate the image at any angle

Draw
6. Click the Draw icon to be able to draw on the image. You can select a freehand drawing or a straight line. You can also specify color and range. The maximum range (thickness) here is 30

Reset Actions
7. - Undo – Revert the last change you made.
- Redo – Restores the last undone change.
- Reset – Clears all edits and restores the image to its original state.
- Delete – Removes the selected element (e.g., text, shape, icon) from the image.
- Delete All – Removes all added elements but keeps the original image intact.

Shape
8. Click the Shape icon, select the required shape, and add it to the image with the left mouse click. Drag the corners of the shape with the left mouse button if you need to increase the shape size
You can also specify Stroke, Stroke thickness, and Stroke and Fill color

Icon
9. Click the Icon option, select the required icon, and add it to the image with the left mouse click. Drag the corners of the icon with the left mouse button if you need to increase the icon size
You can use the default icons or upload a Custom Icon. You can also specify the color for the default icon

Text
10. Click the Text icon, then click on the image to add text. Resize by dragging the corners or adjusting the Text Size slider. Set bold, italic, or underline styles, choose alignment for multiple lines of text (left, center, right), and select a text color.

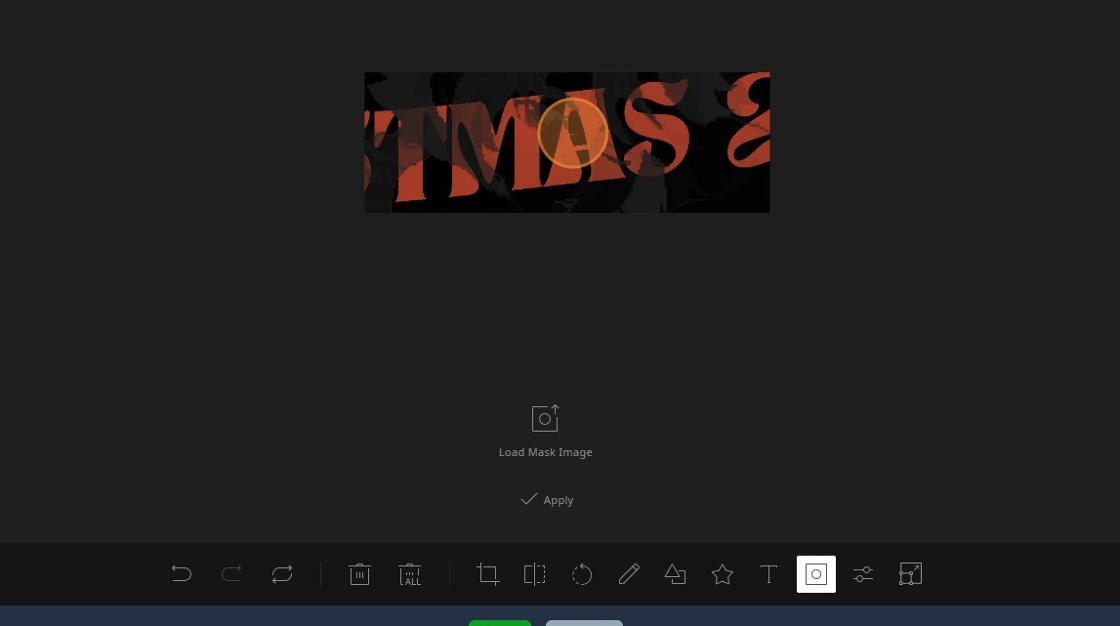
Mask
11. Click the Mask icon to apply a mask to blend the image with another. Click "Load Mask Image".

12. Select the required image, drag and drop where it should be positioned, and click "Apply".

13. The original image has blended with the uploaded image as a result
Filters
14. Select the Filters icon to apply effects to enhance or modify the image
- Grayscale – Converts the image to black and white.
- Sepia – Gives the image a warm, vintage brown tone.
- Blur – Softens the image by reducing sharpness.
- Emboss – Creates a 3D relief effect.
- Remove White – Remove white areas from the image.
- Threshold – Adjusts the intensity of white removal.
- Distance – Defines how much white is removed.
- Gradient Transparency – Fades the image into transparency.
- Value – Adjusts the fade intensity.
- Brightness – Increases or decreases the image brightness.
- Noise – Adds grain for a textured effect.
- Pixelate – This creates a pixelated effect on the image.
- Color Filter – Highlights specific colors.
- Threshold – Adjusts the color intensity.
- Tint – Applies a single-color overlay.
- Multiply – Blends the image with another color or layer.
- Blend – Merges the image with another using different blending modes.

Resize
15. Click the Resize icon to modify the image size

16. You will be prompted to specify the width and the height of the image and if you want to keep the aspect ratio. You can also increase the image with the Percent slider. The maximum percent value is 200%. Click "Apply" to confirm the changes

17. Click "Save" to confirm the changes. You'll find the newly resized image in your Media Library
