
1. The Event template allows you to configure the appearance of every event.
The Event Template acts as a draft, so every time you create a new Event, it follows the structure and style you've set in the Event Template, replicating the layout for every event
By default, the Event Template has the following widgets: Events Post Name, Start Date, Events Post Category, Events Post Content, Add To Calendar button, Events Post Tags, Events Recent Posts

2. You can add the following widgets to the Events Template: Search, Recent Posts, Category List, Tag List, Post Name, Events Calendar, Author, Published On, Start Date, End Date, Location, Add To Calendar, Comments, Post Category, Post Tags

Post Name
3. The Post Name widget will display the post name on the website preview. You can only change the Text style for the Post Name.
Additionally, you can change Spacing, Devices & Alignment, and Visible On, which are common features in most widgets in the website builder. Please refer to this guide for more information on these features.

Author
4. The Author widget reflects your profile name in your events post on live preview. You can only change the Text Style for the Author widget

Published On
5. The Published On widget reflects the date of your post on live preview. You can only change the Text Style

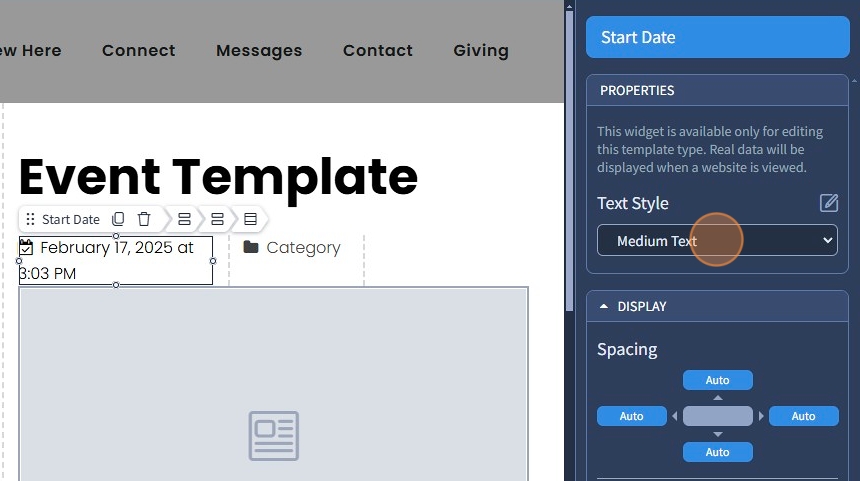
Start Date
6. The Start Date widget reflects the start date of the event. You can only select the Text Style for the Start Date. The real data will be displayed on a live preview
End Date
7. The End Date widget reflects the end date of the event. You can select a Text Style and a checkbox to hide the end date for single full-day events

Location
8. The Location widget reflects the location you specified for the event after creating it
Specify a Text Style for the location and choose whether it should be displayed as a regular text or a text with a link to a map

Add To Calendar
9. The Add to Calendar button lets visitors add events to Google Calendar.
You can customize:
- Button Preset – Select predefined designs for quick styling. Presets can be customized in the Design section.
- Button Size – Small, Medium, or Large.
- Button Text – Rename the button label.

Comments
10. The Comments widget allows you to display comments for your Events if you have Disqus comments plugin enabled. It can be enabled in Events Settings - General

Post Category
11. The Post Category widget reflects the assigned category the post has on live preview. The Text Style can be changed in the Design tab

Post Content
12. Post Content is a system widget; it can not be deleted. It will display the content you put inside every post. Real data will be displayed when a website is viewed.
You can add Spacing around the Post Content

Post Tags
13. The Post Tags widget reflects the assigned tags the post has on live preview. Specify the Title for the Post Tags and choose the Vertical Alignment (bottom, middle, or top).

The rest of the features here - Spacing, Devices, Alignment, Visible On are common features in most widgets in the website builder. Please refer to this guide for more information on these features.
14. Switch to the Design tab

15. Select a Preset for the Post Tags widget from the dropdown. Presets are predefined designs that allow users to quickly apply a specific style or layout to a widget. You can customize the preset style in the Design section
Additionally, select a Text Style for the Post Tags Title

16. Click "Save" to confirm the changes

Recent Posts
17. Recent Posts is a widget that shows the most recent Event posts. Select the Recent Posts widget to edit the Settings described further

18. It should also be noted that the Recent Posts widget can be used in the Pages section in case you want to show your recent Events posts on regular pages

19. Click "Change Layout" to select a different grid layout for the Recent Posts widget
Note that based on the layout you select, it will have a few different features; for example, the default layout doesn't have Vertical Alignment, Post Image Position, and Content Padding

20. Select the required layout and click "Apply"

21. Select from the dropdown if you need Recent Posts to only show posts that have taxonomies applied to them
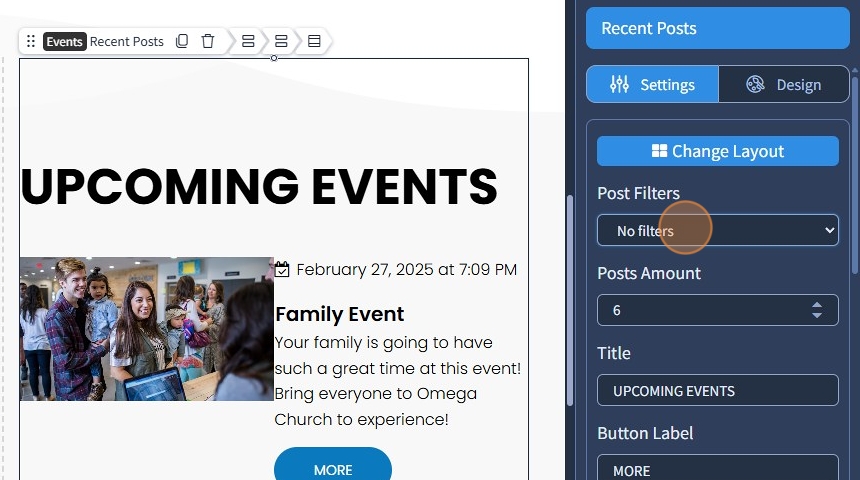
22. Specify the Posts Amount for the Recent Posts. The maximum amount you can set is 20

23. Specify the Title and Button Label for Events Recent Posts

24. Select Vertical Alignment for the Recent Posts images. It can be top, middle, bottom

25. Specify Post Image Position. It can be left or right

26. Specify spacing for the Title and Content. Spacing is a common feature in most widgets

27. Select what content should be displayed in Recent Posts in Content Settings. The following options are available: Image, Display Date, Author, Short Description, Button
Display Date - show Published On date or show Start Date, End Date, or both Start Date and End Date

28. Specify the Sorting type. The following options are available: Published, Event Start, Timeline
Published - will sort recent Events posts by their published date.
Event Start - will sort recent Event posts by their Start Date.
Timeline - Timeline sorting displays upcoming events first, in order of their start date, and only after that, the past events will be displayed.

29. Specify Content Spacing around Recent Posts elements. You can specify spacing for the following: Event Name, Image, Published On, Author, Short Description, Button

The remaining Spacing and Visible On features here are common features in most widgets in the website builder. Please refer to this guide for their description
30. Switch to the "Design" tab

31. This is where you can customize the checkboxes you enabled in Content Settings and the texts like Title Style, Post Name, and so on
Set Alignment for different devices, change Text Style, add Spacing, select Preset, change Background color, etc

32. Click "Save" to confirm the changes
