
1. A Countdown Timer widget displays the time remaining until a specific event or deadline. Showing visitors that time is running out encourages them to take action, like signing up for something before the timer hits zero. Drag and drop the Countdown Timer widget on the page

2. Select the Countdown Timer widget to edit the Settings described in Step 3 and further

3. Select the Event Date type for the Countdown Timer. With this type selected, the Countdown Timer will count down the time to a specific date

4. Select the required Target Date for the Countdown Timer

5. Set how much time is left within the given Target Date

6. The PM/AM button allows you to select the exact time for the countdown before noon or after noon. This is only available if you're counting down an event within a 12-hour format

7. Use the 24H button to switch to 24-hour format

8. Select the Event Timezone from the dropdown

9. Specify the language for the Countdown Timer

10. If you need the Countdown Timer to not count to a specific date, you can set it to Timer instead
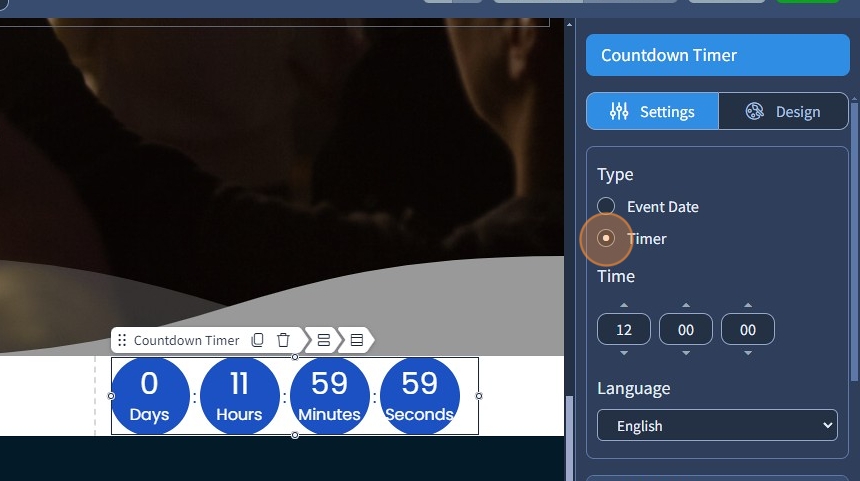
11. Specify the time for the timer
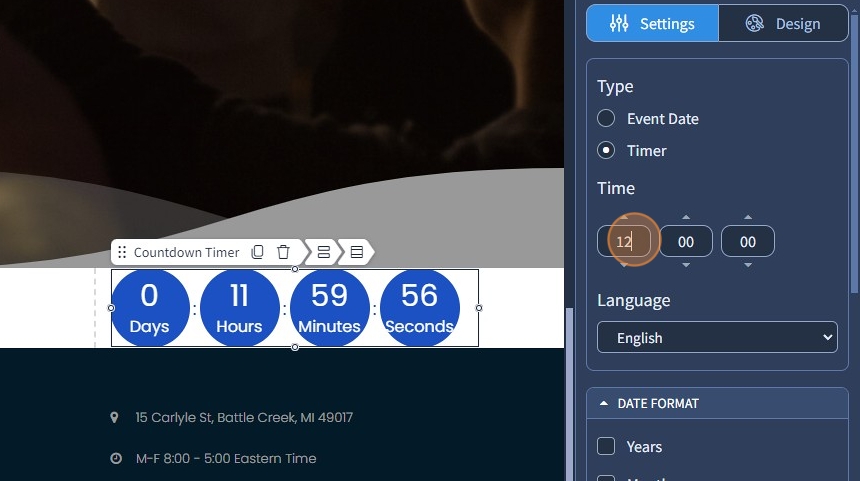
12. Select the Date Format for the Countdown Timer. It can show the following: Years, Months, Days, Hours, Minutes, Seconds

13. Specify the delimiter value for the Countdown Timer

14. Select what action should be done after the countdown is complete. The following options are available: Stop at 0, Hide Counter, Redirect to URL

The rest of the features here - Spacing, Devices & Alignment, Visible On, and Animation, are common features in most widgets in the website builder. Please refer to this guide for more information on these features.
15. Switch to the Design tab

16. Select a Preset for the Countdown Timer. Presets are predefined designs that allow users to quickly apply a specific style or layout to a widget. You can customize the preset style in the Design section

17. Click "Save" to confirm the changes
