
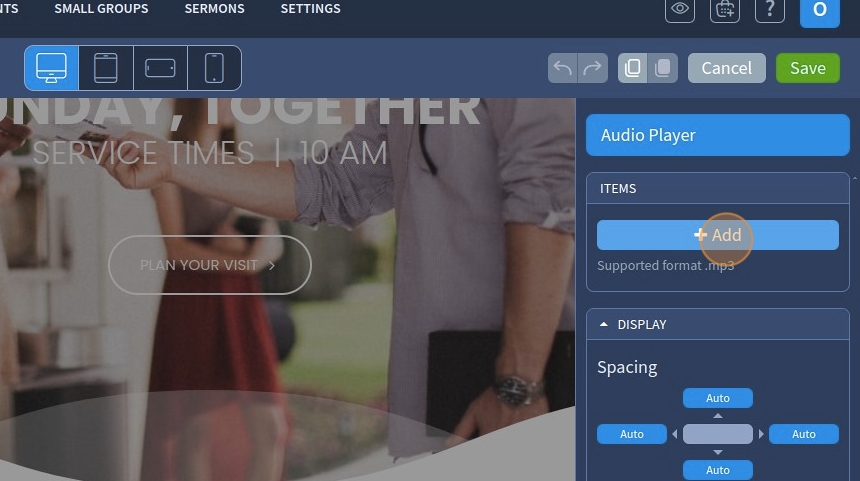
1. The Audio Player widget allows you to upload .mp3 files to the website. Drag and drop the Audio Player widget onto the page

2. Select the Audio Player widget to edit the settings described further

3. Click "Add" to add the .mp3 file
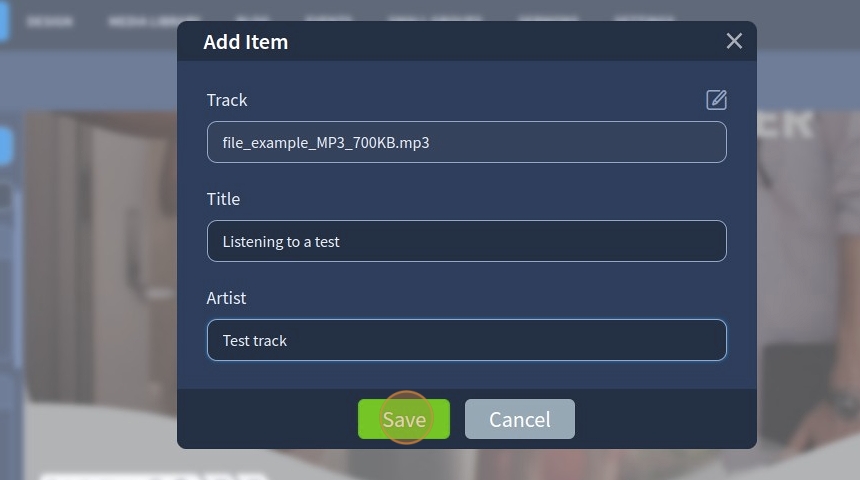
4. Click "+" icon to include the file you want to add

5. Select the required .mp3 file

6. Click "Apply" to confirm the changes

7. Specify the title for the file

8. Specify the artist's name for the file

9. Click "Save" to confirm the changes
10. Enable the loop with the "Loop" checkbox so the audio file is played constantly when it reaches the end

11. Enable autoplay with the "Autoplay" checkbox so the audio file plays automatically from the beginning

12. Enable forced start with the "Forced Start" checkbox. A forced start stops another previously launched widget playback

13. Enable only when visible with the "Only When Visible" checkbox. If enabled, autoplay will run only when the widget is in the visible area of the screen

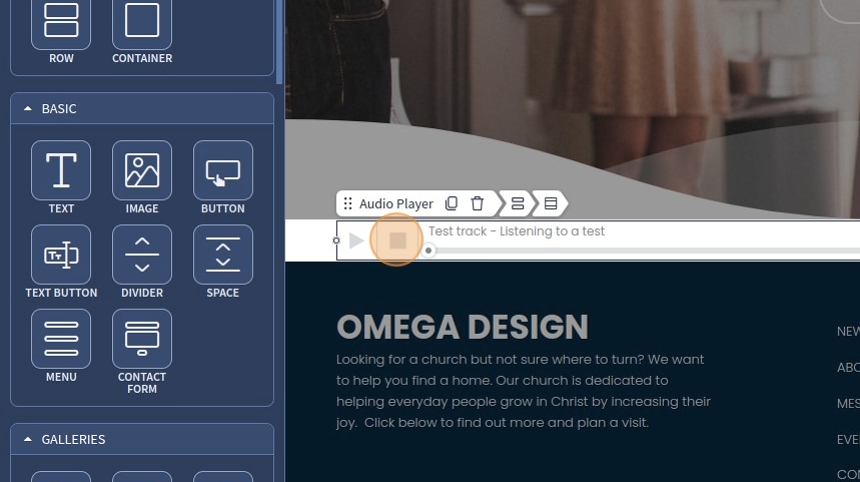
14. Enable the stop button with the "Show Stop Button". The visitors will be able to stop the audio file, and if it's played again, it will play from the very beginning

15. This is how it will look on the preview
16. Enable the loop button with the "Show Loop Button". The visitors will be able to manually loop the audio file, provided the loop checkbox is disabled

17. This is how it will look on the preview

18. Enable the download button with the "Show Download Button" checkbox

19. This is how it will look on the preview. The visitors will be able to download the audio file

20. Click "Save" to confirm the changes

The remaining features here - Spacing and Animation are common in most widgets in the website builder. Please refer to this guide for more information on these features