
1. Google Map Pro is a widget that allows you to use an advanced version of Google Maps. It allows you to create an initial map center, place markers, select various theme types, and enable various map controls. To use Google Map Pro, drag and drop the widget onto the page.

2. Select the Google Map Pro widget to edit the Settings described in Step 3 and further

3. To enable Google Maps, you need to provide an API Key. You can generate the key here. In addition, here's a guide on how you can obtain the API key
Click "Connect" to add the API key. You can also connect the API key if you visit the Settings - Integration tab in the website builder
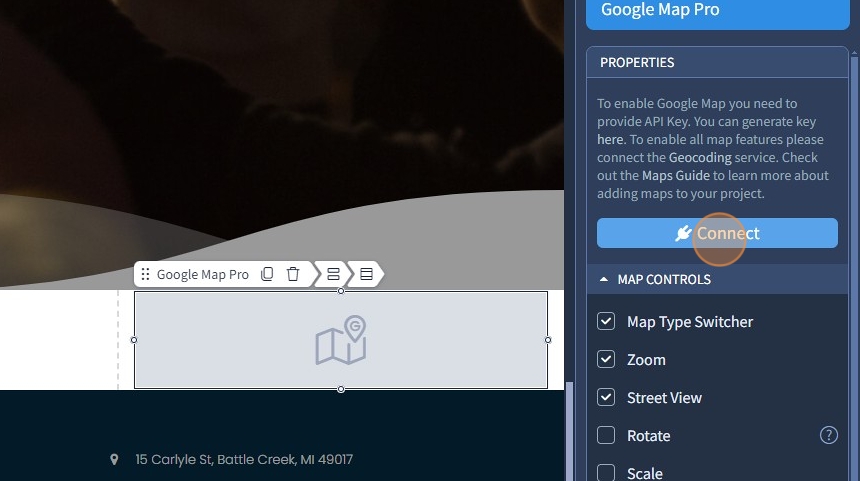
To enable all map features, please connect the Geocoding service. Check out the Maps Guide to learn more about adding maps to your project.
4. Paste the API key and click "Save"

5. Click "Edit Connection" in case you need to change the API key

6. Click "Set Initial Map Center" to create a centered area on the map, focusing on the map markers.

7. Type the needed address in the Address field
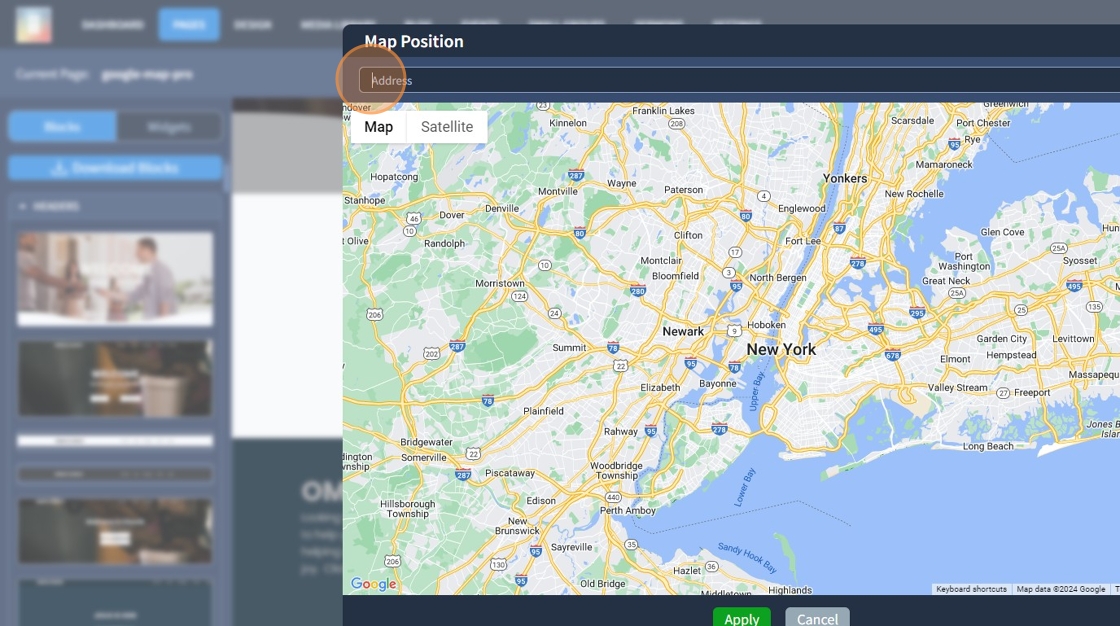
8. Click "Search". The selected map zone will be automatically centered
Click "Apply" at the bottom to confirm the changes

9. Click "Markers" to place customizable markers on any selected location on the map

10. Type the location you want to add a marker on and click "Search"

11. Click "Add Marker"

12. As you can see, the location has a red marker now
Specify the marker title and caption, the title will show when you hover the mouse on the marker.
The caption will show if you left-click on the marker on the live preview or enable the "Display information visible by default" checkbox

13. Click "+" to select and add a custom image for Marker Icon from Media Library

14. If needed, change the custom icon by clicking the pencil icon. If you need to delete it, click the bin icon instead

15. Enable "Display information visible by default" in case you want the visitors to see the description set for the marker directly on the map without them having to click the marker

16. This is how it will look on the website preview. The description pops up without the visitor having to click the marker

17. Click "Apply" to confirm the changes for the marker

18. You'll see your first marker below the "Add Marker" button. If you need to change it, use the pencil icon. If you need to delete it, use the bin icon
Click "Apply" again at the bottom to confirm the changes for the map

19. Specify with zoom how much the map should be enlarged.
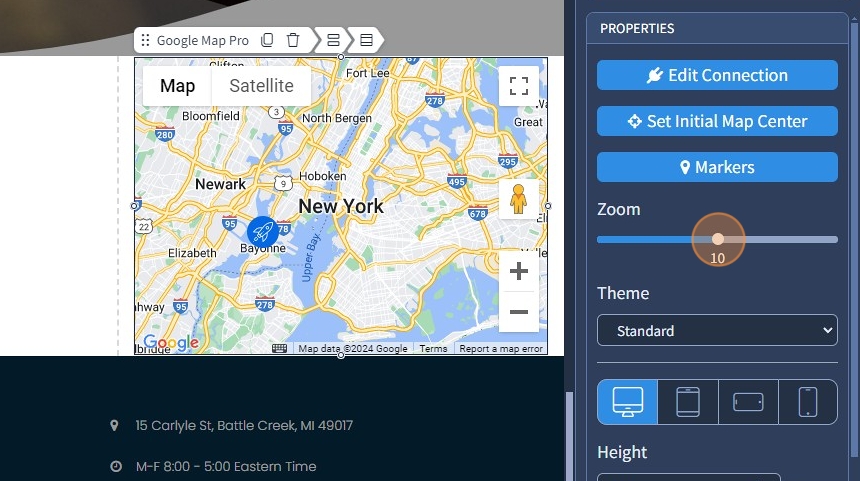
20. Specify the map theme. The following options are available: Standard, Silver, Retro, Dark, Night, Aubergine

21. Set the height for Google Map Pro for each device. You can set it for each device separately using the corresponding device icons

22. Enable the controls you need on the map. The following options are available: Map Type Switcher, Zoom, Street View, Rotate, Scale, Fullscreen
You can read in more detail about each control option in this guide in the Controls Overview section

The rest of the features here - Spacing, and Visible On are common features in most widgets in the website builder. Please refer to this guide for more information on these features.
23. Click "Save" to confirm the changes
