
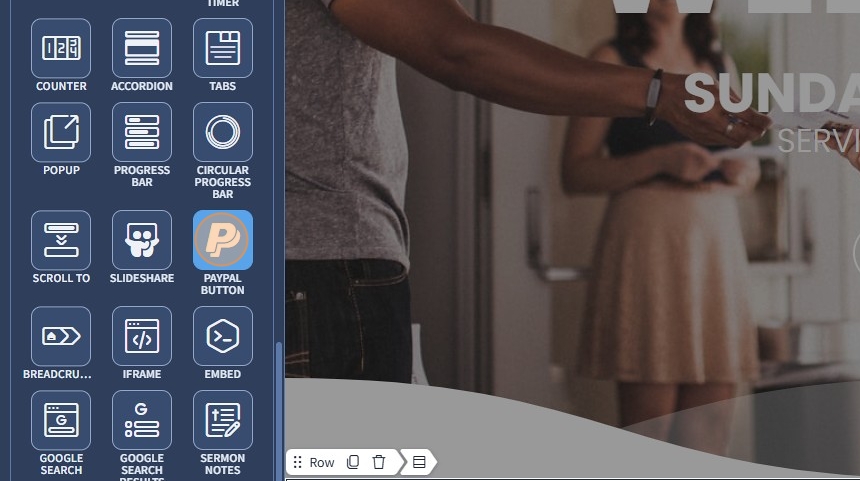
1. The PayPal Button widget allows you to accept donations from visitors via PayPal. Drag and drop the PayPal widget onto the page
2. Select the PayPal Button widget to edit the settings described further

Settings - Buy Now type
3. Select Buy Now for the PayPal Button.
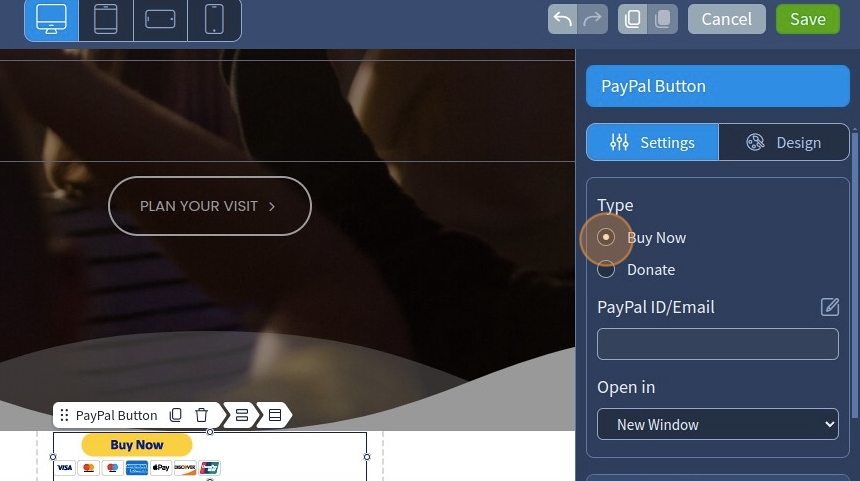
4. Click the pencil icon to specify your PayPal ID/Email

5. Specify the PayPal ID or an email address associated with the PayPal account. Click "Apply" to confirm the changes

6. Specify the Item Name for payment details, specify the Item ID for payment details, and select a currency for the item. Specify the price for the item
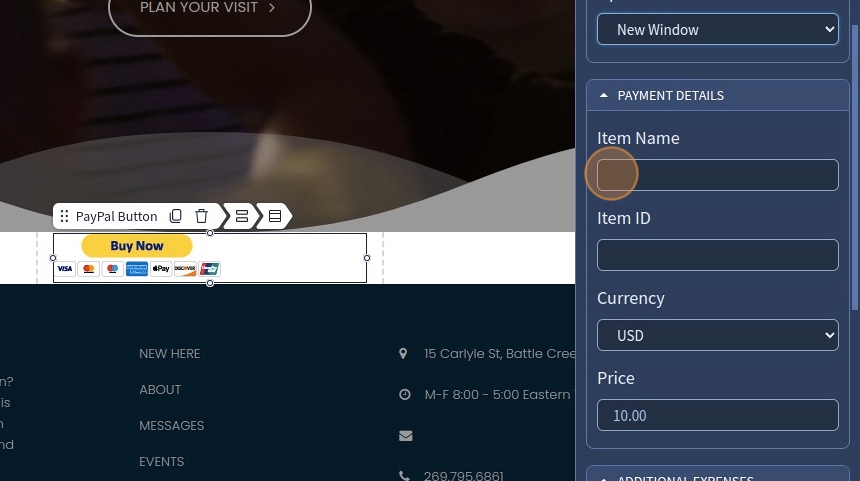
7. Specify the shipping rate for additional expenses. Specify the tax amount for additional expenses

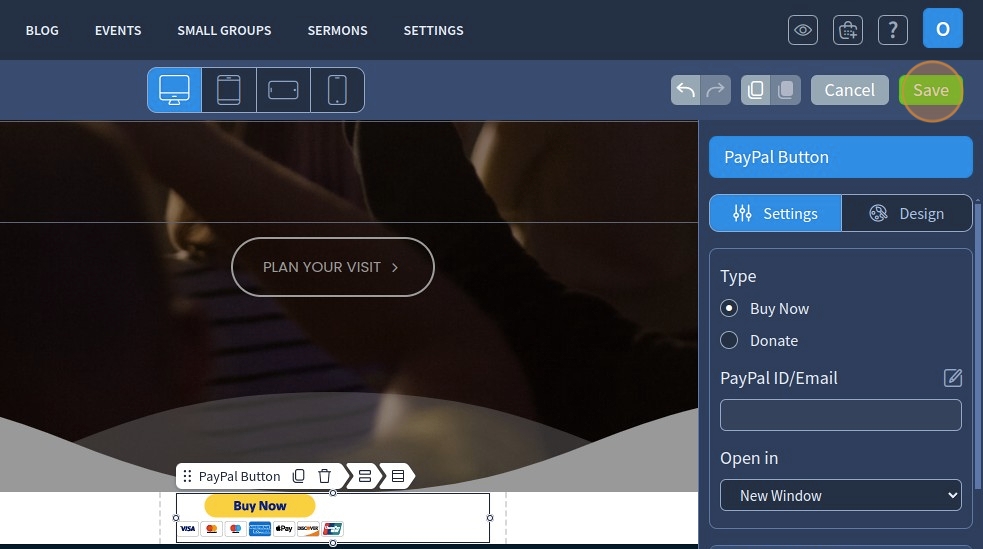
8. Click "Save" for the changes to reflect on the page
The remaining features here - Spacing, Devices, Alignment, Visible On, and Animation are common features in most widgets in the website builder. Please refer to this guide for more information on these features
Settings - Donate type
9. Select Donate for the PayPal Button

10. Click the pencil icon to specify the PayPal ID/Email

11. Specify the Item Name for payment details. Specify the Item ID for payment details, select a currency for the item
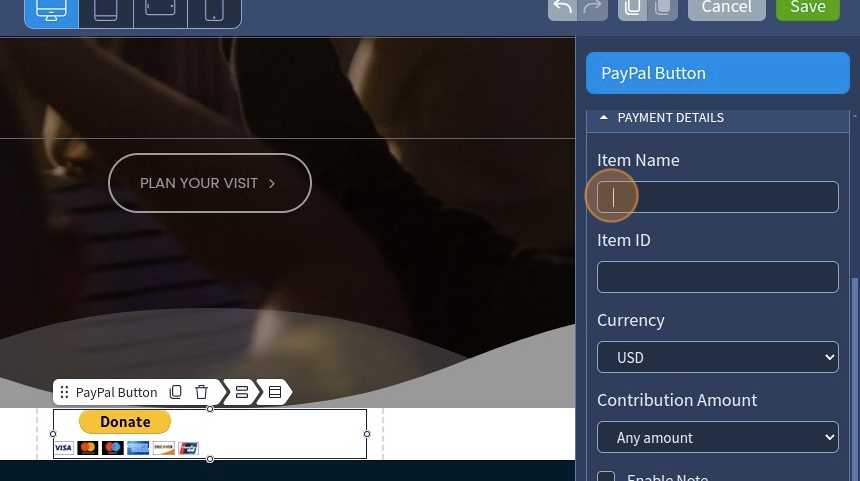
12. Contribution Amount has the following options: Any amount, Fixed amount. Select the required format

13. Select the "Enable Note" checkbox to leave a note for the donors once they're redirected to the PayPal Page. Type the note for the donors in the Note Label field

Please be advised that to accept donations, you should complete the confirmation process with PayPal. You can learn more about the requirements here
You'll need to provide information to prove that: Your organization is legally registered with the appropriate regulatory body. You're a representative of the organization.
14. Click "Save" for the changes to reflect on the page

The remaining features here - Spacing, Devices, Alignment, Visible On, and Animation are common features in most widgets in the website builder. Please refer to this guide for more information on these features
Design tab
15. The functionality of the Design tab for both button types is practically the same, with the only exception being that the Donate button doesn't have Buy Now/Pay Now text in the Design - Button Type - PayPal Button. Select the Design tab

16. Select from the dropdown the "PayPal Button" button type. The following options are available: PayPal Button, Theme Button, Custom Image
The PayPal Button will show the default PayPal button look.
Theme Button matches the PayPal button appearance to regular buttons on your website. You can specify Button Text, Button Preset, and Button Size.
Custom Image - allows you to upload a custom image for the button. You can also specify the Title and Alt Text for the image.

17. The default PayPal button has the following Button style options: Default, Hide credit cards logos, Use smaller button
Default - the default look of the PayPal Button will remain
Hide credit card logos - allows you to hide the logos in the PayPal Button
Use smaller button - allows you to use a tinier variation of a button without logos
Lastly, select the country and language for the button and Button Text. You can select "Buy Now" or "Pay Now" for the Button Text

The Donate Type button doesn't have Buy Now/Pay Now text in Design - Button Type - PayPal Button. It will just say "Donate"
18. This is how it can look on the preview if the Theme Button type was selected

19. This is how it can look on the preview. The PayPal button has a custom image

20. Click "Save" for the changes to reflect on the page
