
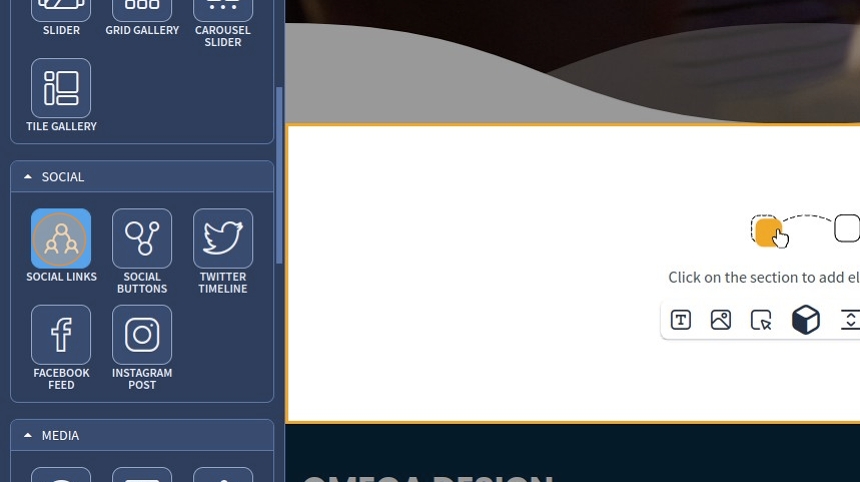
1. Social Links is a widget that is used to include social links on the website. Drag and drop the Social Links widget on the page
2. Left-click the Social Links widget to edit the Setting described in Step 3 and further
3. Click "Add" to add a social link

4. Specify a link in the "Open URL" field that should open after the social link is clicked

5. Click on the shapes icon to select a Font Awesome icon for the social link

6. Select the necessary Font Awesome icon for the social link

7. Click "Apply"

8. "Open In" allows you to select if the link will open in the current browser tab or in a new tab. It's a common feature in most widgets. Please refer to this guide for all common features in the admin panel.

9. Select the "No follow" checkbox if you need the link to not be followed by the Search Engine crawlers

10. Turn on the "Enable Advanced Settings" toggle to customize social link color

11. Specify the icon color. To select an exact color, use the Color Picker feature. Please refer to this guide that explains how Color Picker works and other common features in the admin panel.

12. Specify the background color

13. Specify the border color.

Please note that some color settings can be unique to Presets. Preset 1 for the Social Links widget doesn't have a border. Please refer to this guide for more information on presets
14. Click on the hover state to change colors for the hover effect. The Hover effect is an interactive visual change that occurs when the user places the cursor over a specific element on the page without clicking on the element

15. By default, the hover effect inherits color values from the "Normal" state. After changing colors for the hover effect, they can be reset to inherited values by clicking the arrow

16. Click "Save" to confirm the changes

17. This is how it will look on the page in a normal state. If the mouse is hovered over the icon, the icon will be yellow
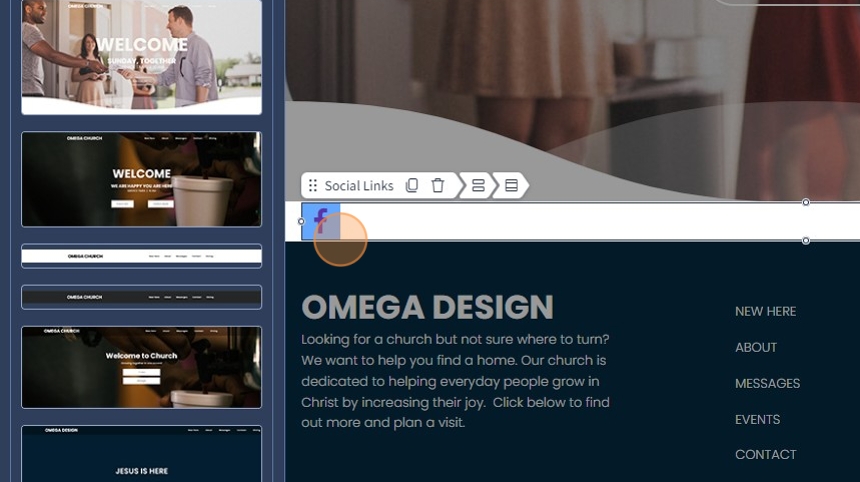
18. Now you have a social link with a Font Awesome icon. Click "Save"

19. If needed, you can change the icon to another or delete the one you have selected by clicking on the pencil or bin icons, respectively

20. Click on the image icon to select an image for the social link

21. Select the required image

22. Click "Apply" to confirm the image you have selected

23. Turn on the "Enable Advanced Settings" toggle to customize social link color

24. Specify the icon color, background color, and border color. Adjust the hover colors if needed

Icon Color change will only work for the Font Awesome icon, not for the image
25. Click "Save" to confirm the changes

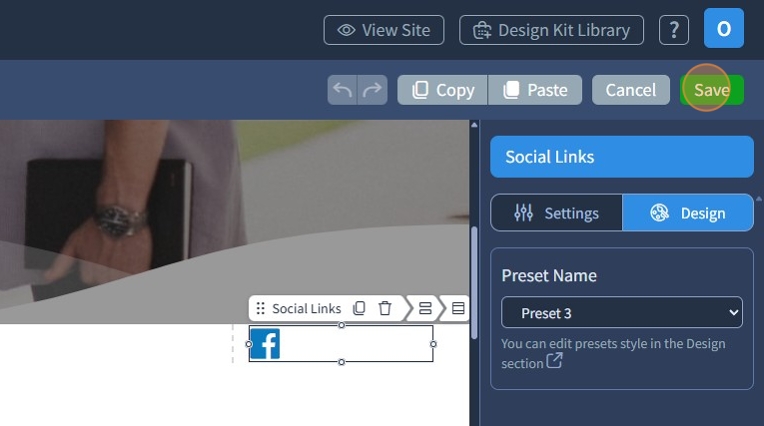
26. This is how it will look on the page in a normal state. If hovered over, the background will be pink instead of bright green

27. Switch to the Design tab and select a different Preset. Presets are applicable both for icon and image in Social Links.
Presets are predefined designs that allow users to quickly apply a specific style or layout to a widget. You can customize the preset style in the Design section

28. Click "Save" to confirm the changes
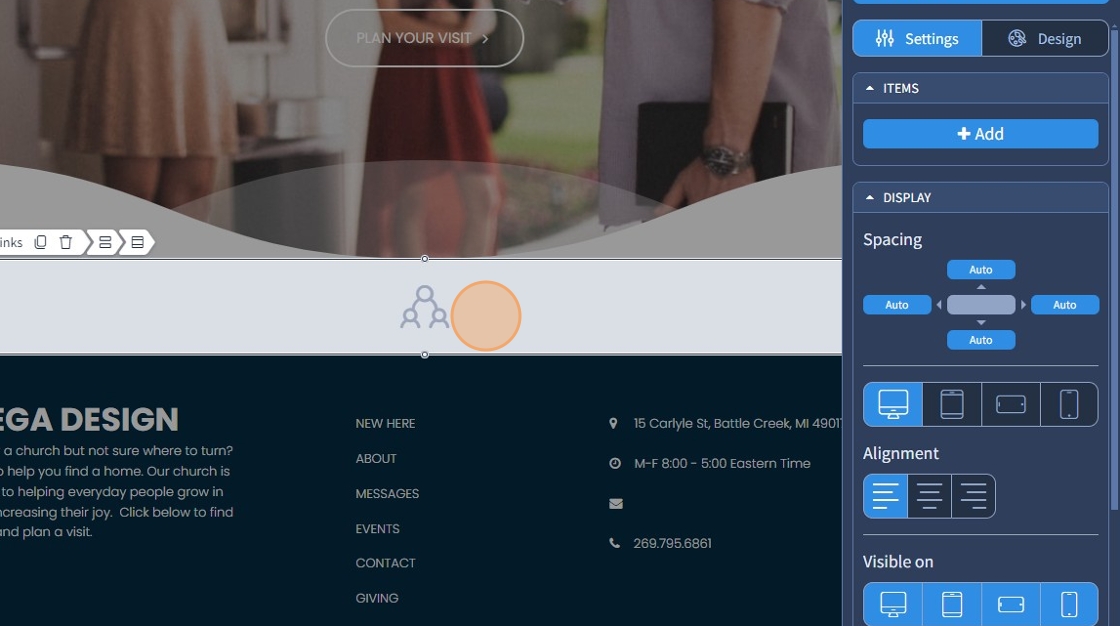
The rest of the features here - Spacing, Devices, Alignment, Visible On, and Animation are common features in most widgets in the website builder. Please refer to this guide for more information on these features.