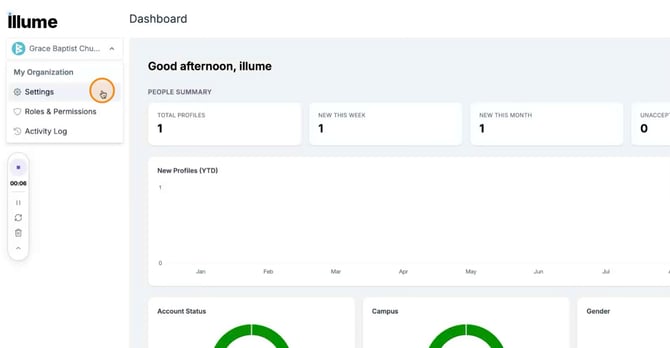
Step 1: Open Organization Settings
Click on your church name in the illume dashboard. From the dropdown menu, select Settings.
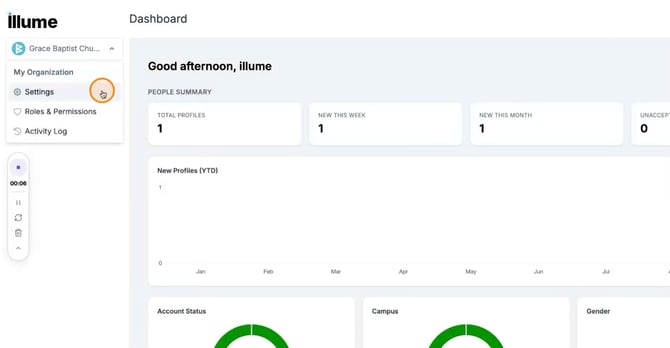
 Step 2: Access the Campuses Section
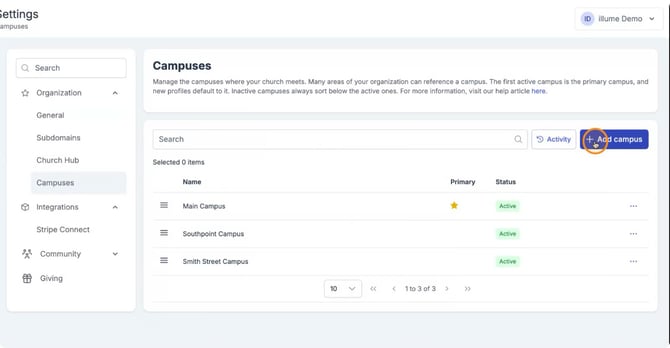
Under Organization Settings, locate the Campuses section. Your primary campus will automatically appear at the top of the list.
Step 3: Add a New Campus
To add a new campus, click the Add Campus button.
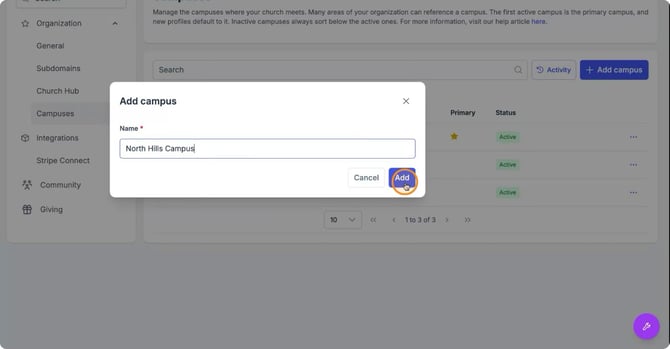
On the campus creation form, enter the details for your new campus.The new campus will appear at the bottom of the campus list.
When finished, click Add.
Step 4: Set a Campus as Primary
If you want to make the new campus (or any campus) the primary campus, click and drag that campus to the very top of the list. Once it is at the top, it will be set as the new primary campus.
Step 5: Make a Campus Inactive
If you need to deactivate a campus, click the Actions menu next to that campus. Select Edit.
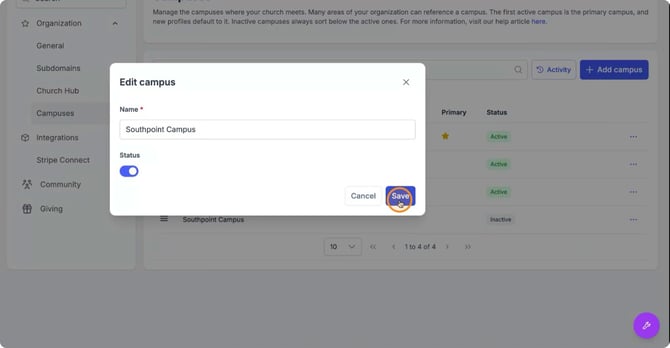
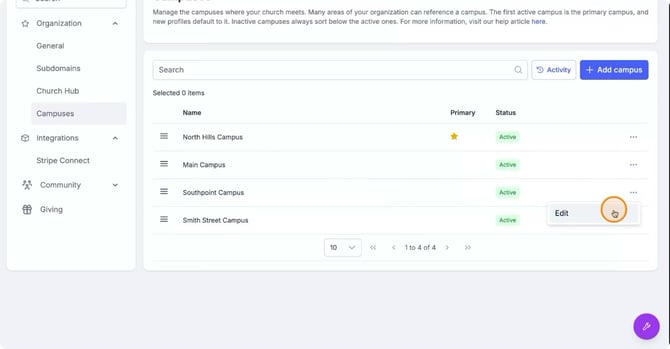 In the edit view, toggle the status to Inactive.
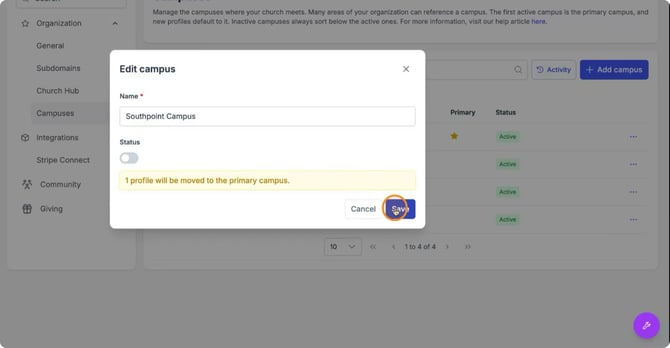
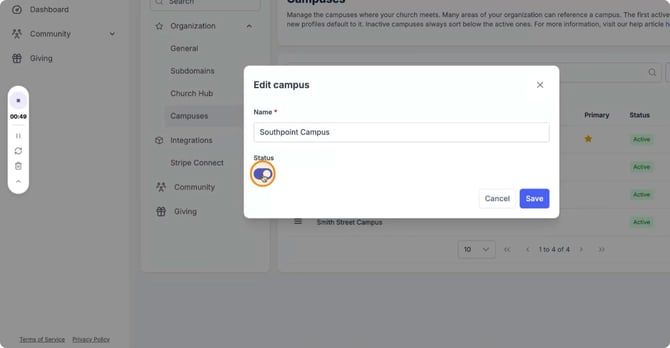 Here you will see whether any profiles or recurring gifts are associated with that campus. When you are done reviewing, click Save.
 Step 6: Reactivate a Campus
To activate an inactive campus, once again click the Actions menu next to that campus.
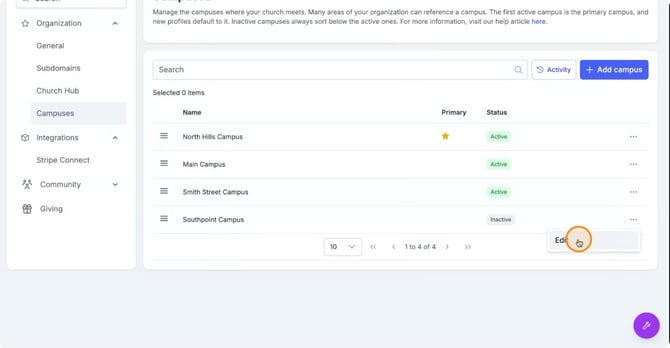 Toggle the status to Active, then click Save.
 Step 7: Understand How Campuses Appear for Givers
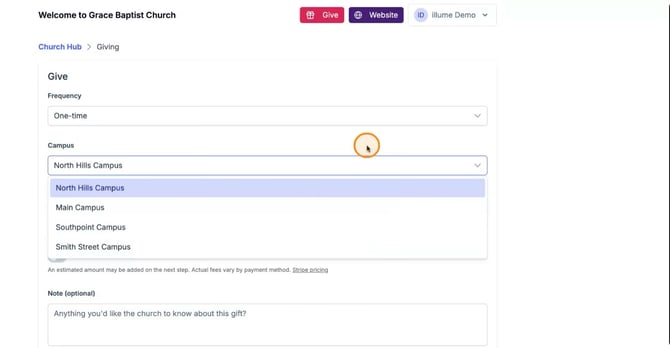
When giving from the hub, members will be able to select from all active campuses in the campus dropdown menu.
If a campus is set to Inactive, it will not appear as an option in this list.