
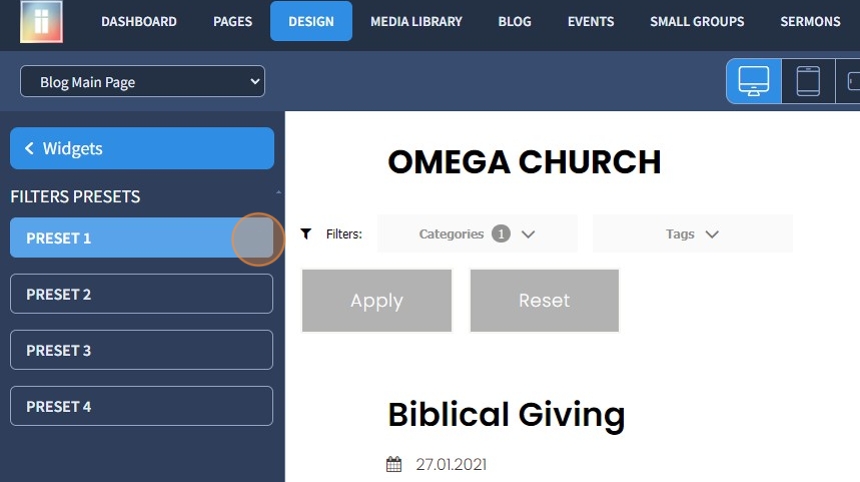
1. The Filters widget (available in Blog, Small Groups, Events, and Sermons) has four presets. Click Preset 1
General Settings
2. You can configure the following blocks for the Filters widget: Label, Icon, Item, Border, Selected Counter, Toggle Icon, Content
You can also configure the following tabs: Closed Item, Opened Item
Specify Font, Font Style, Font Size, and Font color for the Label. If you need a specific color, use the Color Picker
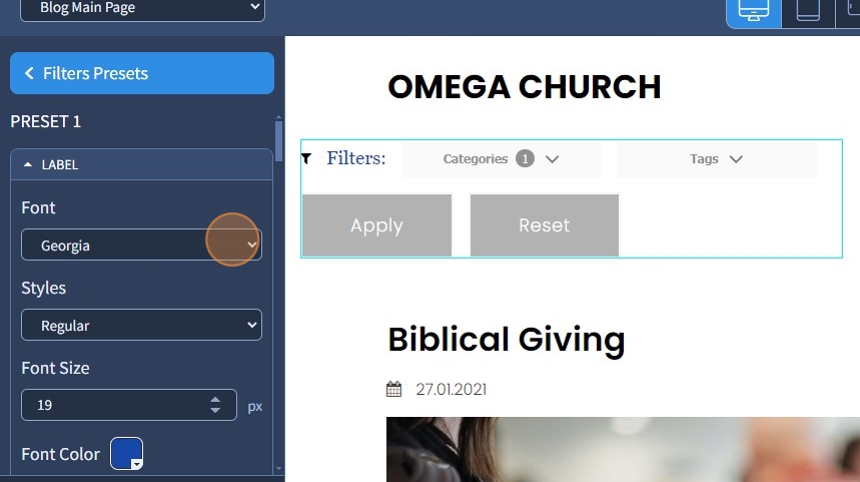
3. Specify the size and color of the Label icon

4. Specify Font and Font Style for the Filter Items

5. You can configure the following sizing and spacings for the Item: Font Size, Height, Horizontal Padding
Click a device icon to adjust the setting for that particular device resolution

6. Specify Font and Font Style for the Selected Counter

7. You can configure the following sizes and spacings for the Selected Counter: Font Size, Spacing Between Elements, Horizontal Padding, Vertical Spacing

8. If needed, set the Border for the Selected Counter. It can be Solid, Dashed, or Dotted. Additionally, specify the width and corners.
If you need a specific color, use the Color Picker

9. Specify Icon Size and Spacing Between Icon and Text for the Toggle Icon

10. You can configure the following sizes and spacings for the Content: Max Height (max value is 700 pixels), Top Padding, Right Padding, Bottom Padding, and Left Padding
Click a device icon to adjust the setting for that particular device resolution
These changes will be seen in the content of the filters on the live preview when you click the Toggle Icon

Closed Item and Opened Item
11. Use the Closed Item and Opened Item tabs to customize the color for the Selected Counter and Items in the Filters
Specify Font Color, Background Color, and Border Color for the Selected Counter in the Closed Item

12. Use Normal, Hover, and Active State buttons to set the color for Normal, Hover, and Active states
Specify Font Color, Icon Color, Background Color, and Border Color for both Closed and Opened Items
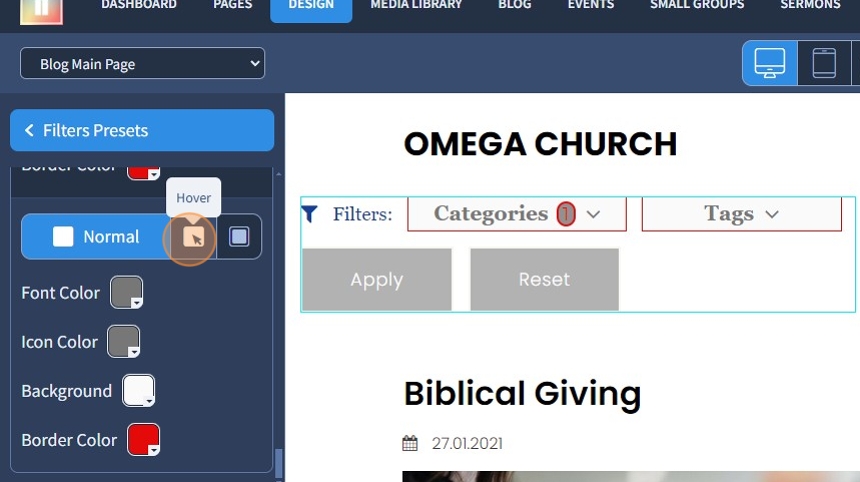
13. Specify Font Color, Icon Color, Background Color, and Border Color for the Closed Item

14. The only difference with Opened Item is that you can also set the color for Background. Set the Background Color

15. This is how it will look when you click the Toggle Icon

16. Click the "Save" button to confirm the changes
