1. The Size and Values tab allows you to modify object spacing on your website. Click the Size and Values tab

Spacings
2. The Size and Values tab consists of three tabs: Spacings, Grid Settings, and Heading Spacing
The spacings tab allows you to configure spacings for all site objects on each screen resolution. Click the Spacings tab.

Spacings - General Settings
3. Specify the Small, Medium, and Large spacings for the Desktop resolution.
To apply spacing to widgets, you should enter the "Pages" section and choose the necessary widget (see Step 11 of this guide as an example)
Click a device icon to adjust the settings for that particular device resolution

Spacings - Adding Custom Spacing
4. You can also use custom spacing for any widget on your website. Click "Add" to add Custom Spacing.

5. Enter the name for the Custom Spacing and click "OK"

6. Specify the value for the Custom Spacing

7. If needed, use the pencil icon to rename the Custom Spacing to something else and the bin icon to delete it respectively

8. Click the "Save" button to confirm the changes

Spacings - Applying Custom Spacing
9. Navigate to the "Pages" section and select a widget for which you wish to set Custom Spacing

10. Select the required widget, for example, Text Widget

11. Click on "Auto" and select the Custom Spacing from the dropdown

12. This is how it will look if you have created a Custom Spacing

13. Click "Save" to confirm the changes

Grid Settings
14. The Grid Settings tab allows you to set custom Column Spacing and Fixed Row Width for the Row Widget. Click the Grid Settings tab

15. Specify Column Spacing (from 10px up to 60px) and Fixed Row Width (from 980px up to 1920px)

16. Click the "Save" button to confirm the changes

Heading Spacings
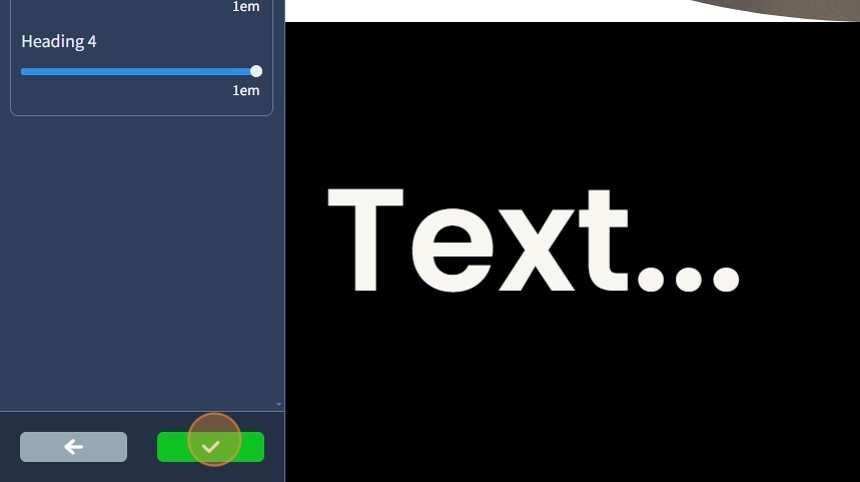
17. The Heading Spacings tab allows you to set top and bottom spacing for h1, h2, h3, and h4 headings. Click the Heading Spacings tab

18. Specify the spacing for the Heading 1. A 1 em size is equal to the element's font size.

19. Here's how it will look on the preview. The Heading 1 font size is 145 pixels, so the spacing on top and bottom will also be 145 pixels

20. Click the "Save" button to confirm the changes