
1. The Image Widget allows you to add and display images on your website. You can upload images and adjust their size. Drag and drop the Image widget onto the page.

2. After dragging the widget onto the page, you'll be prompted to select an image from the Media Library. Select an image and click "Apply".
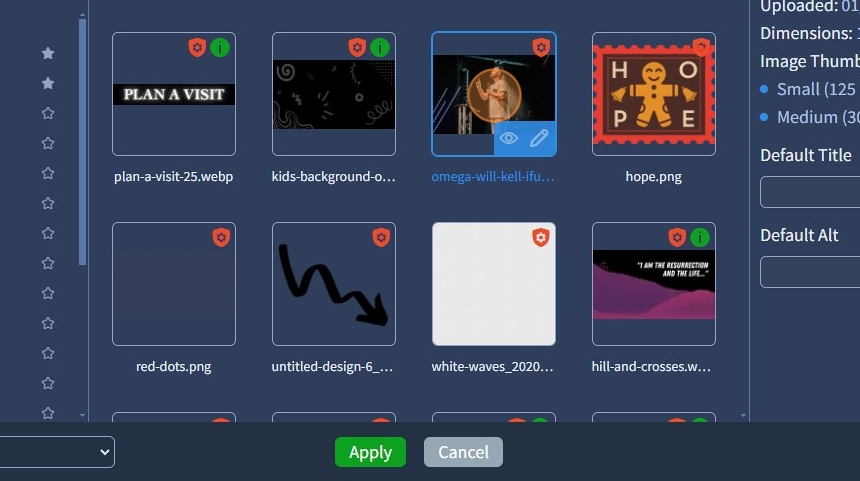
3. You can also specify the Image Size. Image Size has the following options (depending on the size of the image):
Original (Default);
Small- 125*125рх;
Medium- 300*300px;
Large- 1200*1200рх;
Extra Large (HD) - 1980*1980px.

4. You can change the image with the pencil icon, and you can delete it with the bin icon respectively.
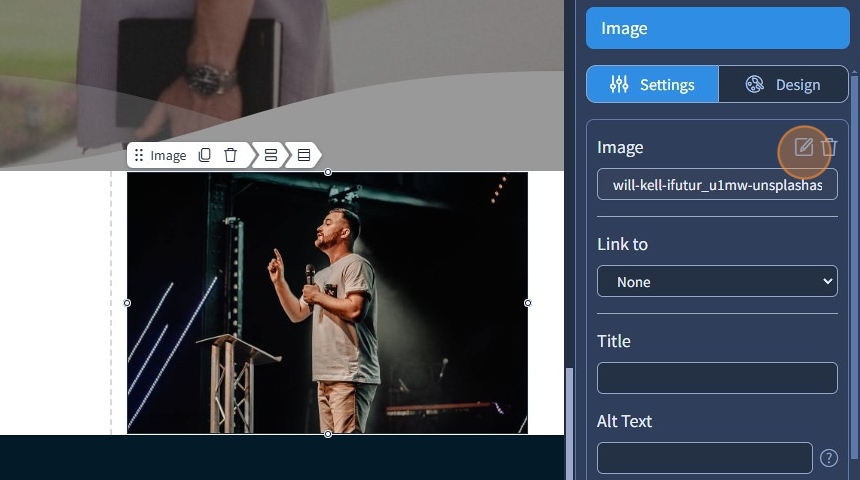
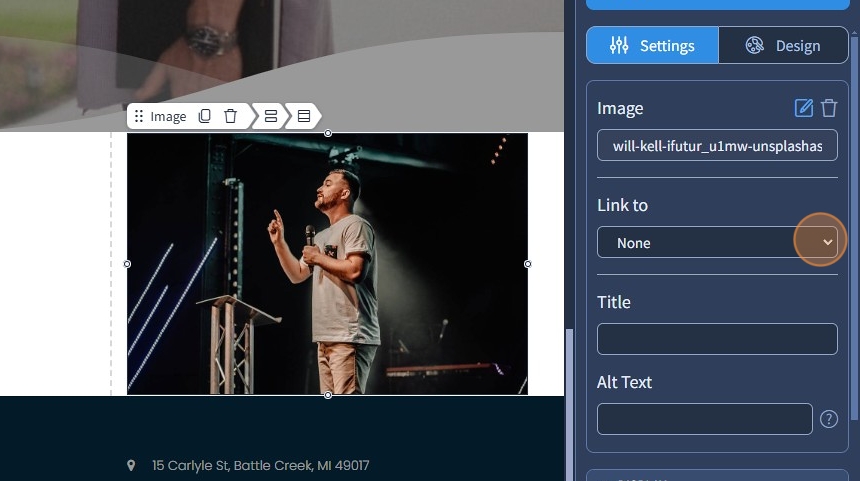
5. Select the location where you want to link the image from the dropdown menu. For example, you can select "Open URL" and insert a URL. The following guide explains in broad detail how the Link To feature works.
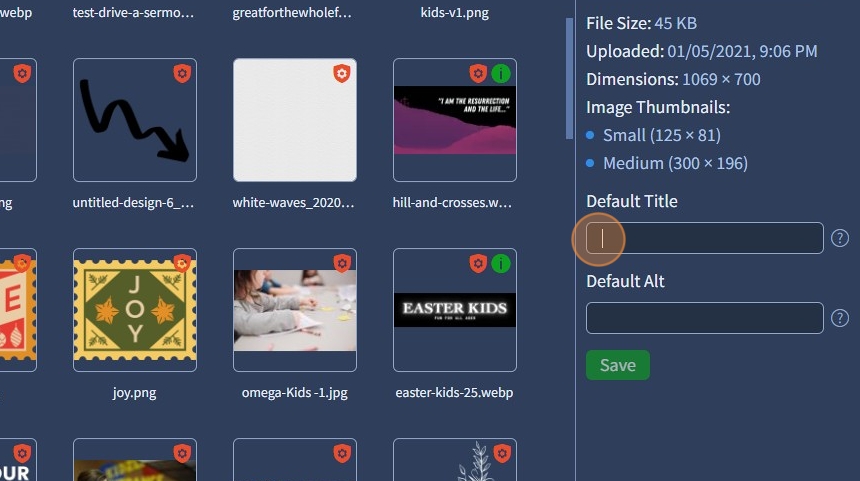
6. Specify the Title and Alt Text for the image. Visitors will see the Alt Text if the browser blocks the possibility of previewing images.
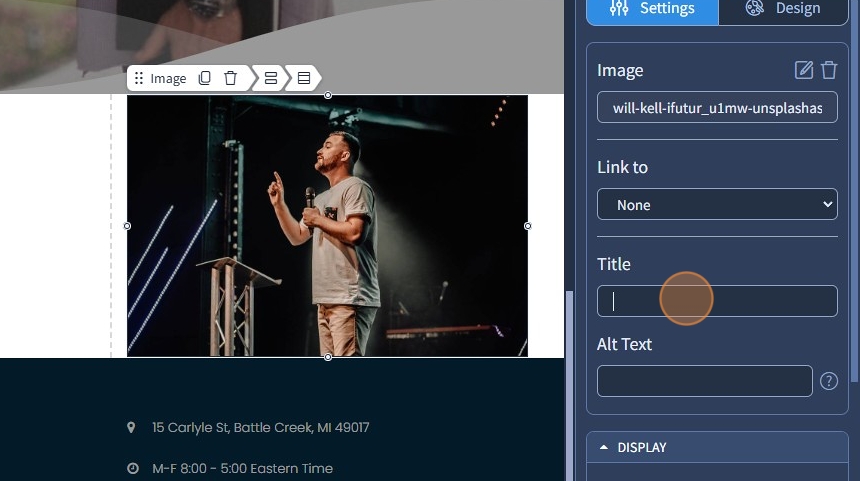
7. Alternatively, set alt and title tags in the Media Library to apply them automatically when adding images to the page. Alt and Title tags are necessary for SEO Optimization.
The remaining features here - Spacing, Devices, Alignment, and Visible On are common features in most widgets in the website builder. Please refer to this guide for their description.
8. Switch to the Design tab.

9. Select a Preset for the Image widget. Presets are predefined designs that allow users to quickly apply a specific style or layout to a widget. You can customize the preset style in the Design section

10. Click "Save" to confirm the changes.
