
1. A tile gallery is a widget with a layout that displays images in a grid of tiles. Each tile can vary in size and shape, creating a visually interesting and organized way to showcase multiple items. This type of gallery is often used to present photos, portfolios, or products in an appealing and easy-to-navigate format. Drag and drop the Tile Gallery widget on the page

2. Left-click the Tile Gallery to edit the Settings described in Step 3 and further

3. Left-click the Tile Gallery widget twice or click "Edit" to prompt the window from Step 4

4. Click "Add Images"

5. Select images for the Tile Gallery from the Media Library

You can select several images for the Tile Gallery from the Media Library by holding the Ctrl button on the keyboard and left-clicking once on each image
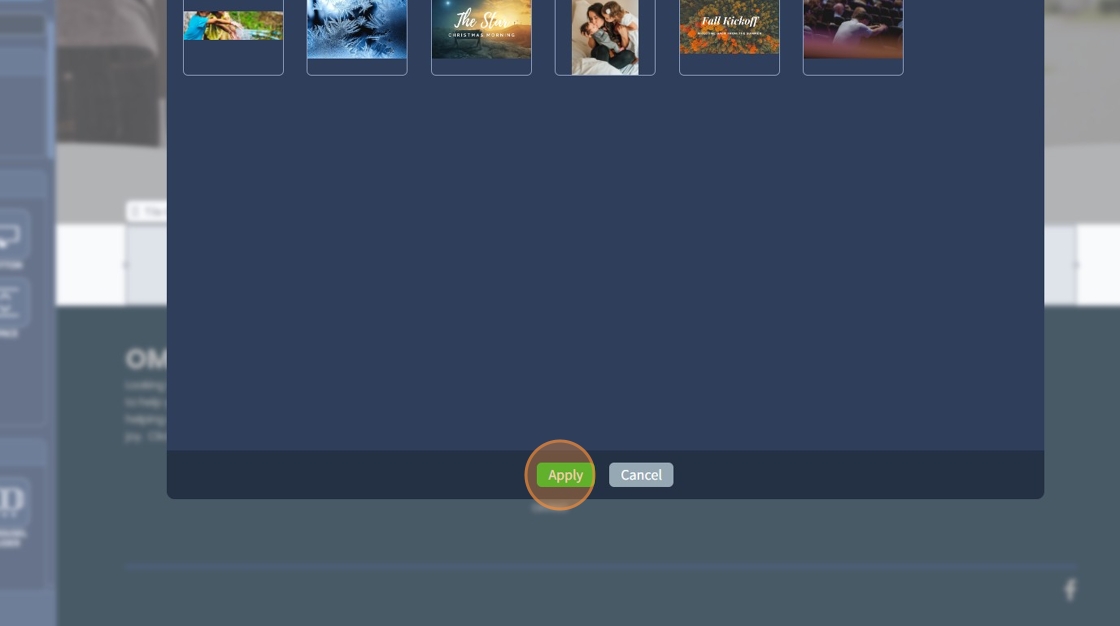
6. Click "Apply" to add the required images to the Tile Gallery

7. Click "Apply" again to confirm the selected images
8. Enable alignment to the bottom with the "Align to the Bottom" checkbox for horizontal images to fill up the space in the gallery

9. This is how it looks. The horizontal images are aligned to the bottom to fill in space

10. Enable Image Counter in Tile Gallery with the "Show Image Counter in Lightbox" checkbox. It will show a number counter for Lightbox images, providing a visual hint of which image is being viewed.

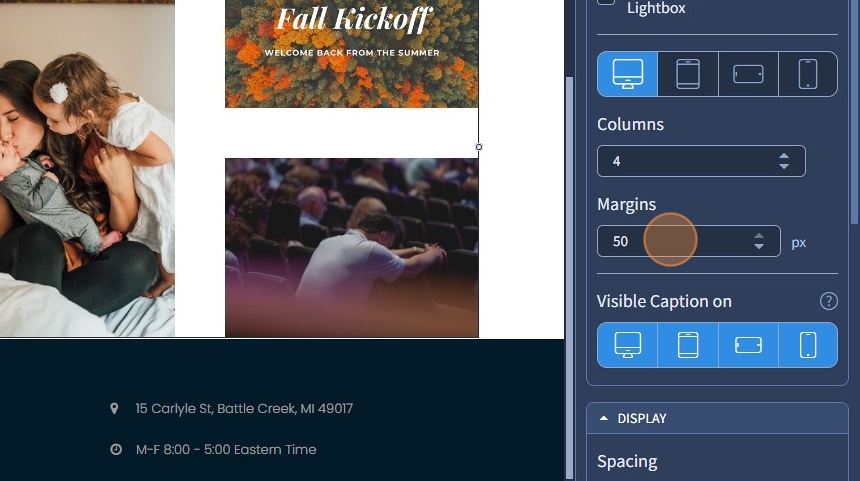
11. Select a device resolution that should have different columns and margins for the Tile Gallery.

12. By default, the columns and margins values are inherited from the Desktop version to other devices. However, these values can still be set to something else on smaller devices

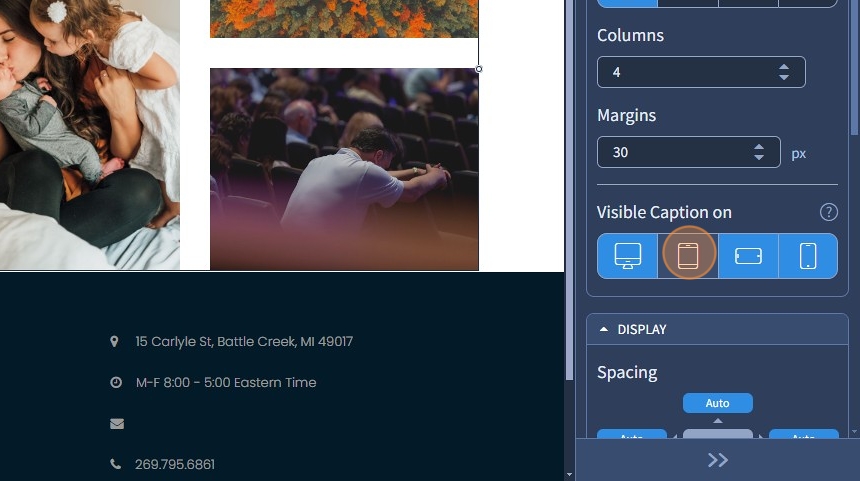
13. Tile Gallery now has 3 columns as a result of the Tablet resolution

14. If needed, both columns and margins can be reset to the inherited values by clicking an arrow next to them

15. Use Margins to increase spacing between each tile
16. "Visible Caption on" is the same feature as "Visible On". For more information on the Visible On feature, please refer to this guide
17. To add a caption, left-click the Tile Gallery widget twice or click "Edit"

18. Click on a pencil icon to edit an image in the Tile Gallery

19. Specify an Alt Text for the Tile Gallery image

The Alt Text provides alternative information for an image if a user for some reason cannot view it (because of a slow connection or if the user uses a screen reader). Please refer to this SEO guide on how to adjust the SEO settings
20. Type the text for the caption in this text field to have a caption with a predefined Text Style

21. Select from the dropdown where to link the Tile Gallery images. By default, they will open in Lightbox effect, filling the screen, and dimming out the rest of the web page. Please refer to the following guide that explains in broad detail how the Link To feature works.

22. Alternatively, turn on the "Enable Text Editor" toggle for editing the caption with the Text Editor

23. Use the Text Editor for more detailed editing of the caption. Use additional options besides Text Styles such as alignment, adding a link to text, etc.

24. Click "Apply" to confirm the changes to the image

25. Click "Apply" again to confirm the changes to the image in the Tile Gallery

26. Click "Save" for the changes to take effect on the page

27. This is how it will look on the page preview. The caption is using the Text Style from the Text Editor

The rest of the features here - Spacing, Visible On, Animation, Design - Preset, and Text style are common features in most widgets in the website builder. Please refer to this guide for more information on these features.