
1. The Small Groups extension helps you display and manage small group meetings on your church website. It allows visitors to browse available groups, see details like meeting times and locations, and join or contact group leaders easily. Click the "Posts" tab to create a new Small Groups post

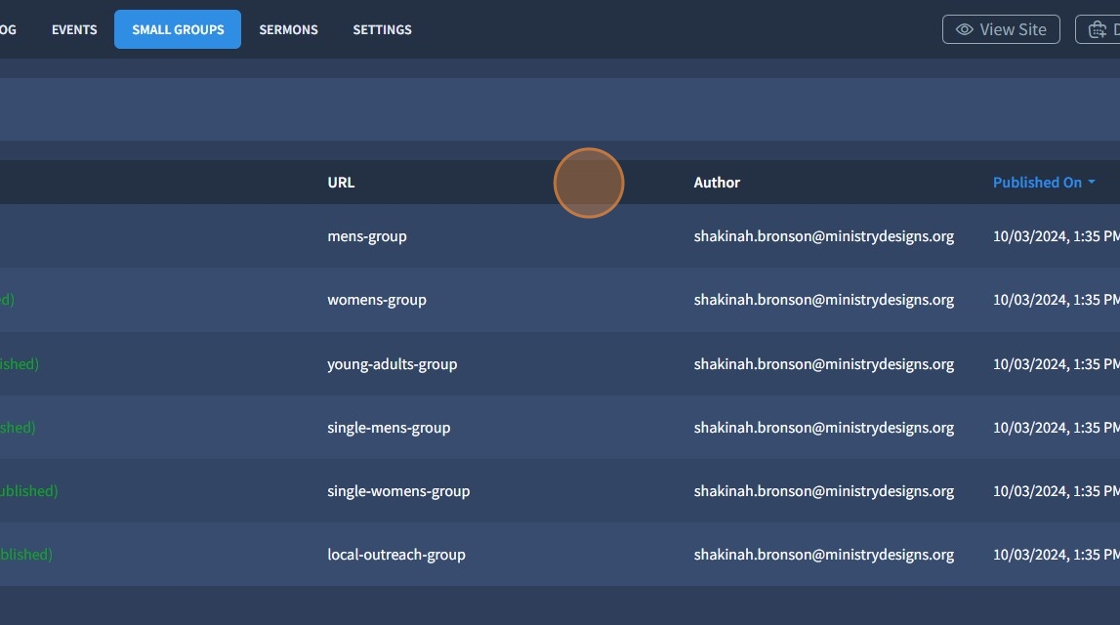
2. Each Post is listed by the following: Name (post title), URL, Author (your profile name), Published On, Actions
Adding a new post
3. Click "Add" to create a new post

4. Specify the Post Name and click "Add"

5. The Actions field lists available actions for the created posts. You can edit, duplicate, or delete your posts

6. The "Name" field contains your post title and status ("Published" or "Draft"). You can sort posts in alphabetical order by clicking the arrows next to the "Name" field. Sorting is also present in the "Published On" field
Additionally, you can access and edit the content of any post if you click on the needed post name under the "Name" field

Post Properties
7. If necessary, click the "Post Name" and "Post URL" fields to rename the post name and URL.
Make sure to keep the URL short, relevant, and include the main keyword you have chosen for the page.

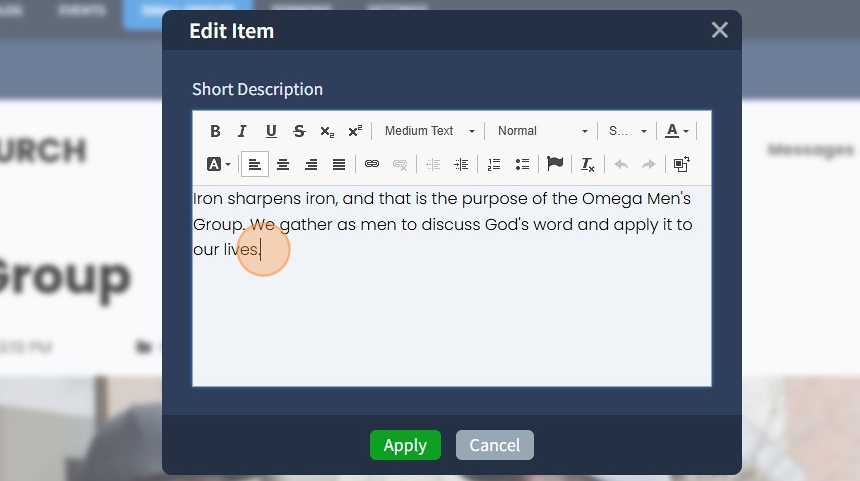
8. Click "Edit Short Description" to edit the short description for the post

9. Change the Short Description with the Text Editor and click "Apply"
10. After modifying the short description, you can preview the changes on the live site if you click the "View Page" button

11. If it's a newly created post, first click "Save Draft" and then click "Publish". If you want, you can keep editing your posts in Draft status until you're ready to publish them

12. The following widgets can be added to a Small Groups Post:
Structure: Row, Container.
Basic: Text, Image, Button, Text Button, Divider, Space, Menu, Contact Form.
Galleries: Slider, Grid Gallery, Carousel Slider, Tile Gallery.
Social: Social Links, Social Buttons, X Timeline, Facebook Feed.
Media: Video, Video Player, Audio Player, Soundcloud.
Advanced: Advanced Image, Advanced Slider, Advanced Contact Form.
More: Google Map, Google Map Pro, Google Calendar, Mailchimp, Countdown Timer, Counter, Accordion, Tabs, Popup, Progress Bar, Circular Progress Bar, Scroll To, Slideshare, PayPal Button, Breadcrumbs, Iframe, Embed, Google Search, Sermon Notes.

13. Select the "Allow Comments" checkbox to show comments via the Disqus comments plugin. You can enable Disqus in Small Groups Settings - General

14. Select Tags to assign multiple tags to the post
Additionally, select Category or Group Details Tags in the corresponding field to assign categories or Group Details tags to the post

15. Click the pencil icon to specify the Preview Image, it will be seen both on the Small Groups Main Page and on the Post page.

16. Additionally, specify the Title and Alt Text for the Preview Image
Visitors will see the Alt Text if the browser blocks the possibility of previewing images.

Publishing
17. Select a Status from the dropdown for the Small Groups Post. You can select the following: Published or Draft. It works the same as on regular pages
Published - will be visible to both the website administrator and visitors who view the site live.
Draft: It will show a 404 page instead of the actual page on the live preview. You can still view the Draft while logged in to your Control Panel.

18. Visibility allows you to make your post "Public" or Password Protected. You can use the general password for all posts or use a unique password for each post

19. "Published On" allows you to set the published date of the post, as well as rearrange the published date for existing posts. Click the calendar icon and specify the exact time of the Small Groups publication.

Start Date and End Date
20. Click "Edit" to specify the start and end date of the Small Groups event in a Calendar

21. Click the "Title" field to change the name of the Small Groups event for the Calendar

22. Select the Full Day Event checkbox if you need the Small Groups event to be a full-day event. In this case, you can only specify the start and end date

23. If disabled, you can specify the exact time for the start and the end of the Small Groups event
Click the calendar icon to specify the start and end dates. Use the AM/PM buttons to switch to the required day period.
You can also select a 12-hour format (AM/PM) or a 24-hour format for the event. Choosing standard time format ensures a consistent user experience.
Please note that the Small Groups event will be created in the Time Zone from the Settings - Advanced Settings. You can adjust the Time Zone there.

24. Select the "Hide when ended" checkbox for the Small Group Events to disappear after their end date
Specify the Location of the event (for example, New York, USA). This field will be shown in the Google Calendar after the visitor adds the event to their Calendar
If needed, edit the Description Link Label field. This will also be seen in the Google Calendar
Click "Apply" to confirm the changes

25. The SEO Settings tab allows you to configure the following: Meta Title, Meta Description, Canonical URL, No-Index, No-follow, and Hide Canonical
Meta Title is the name of your page displayed in the browser tab and search engine results. Make sure to use unique titles for each of your website pages. Check out this SEO Optimization guide for further information.
Meta Description is the text under Meta Title. It describes what the page is about and can help you attract more visitors from organic search.
The Canonical URL is the URL of your website page that should be considered official or primary when there are multiple pages with similar or duplicate content. This helps prevent issues with duplicate content and ensures that search engines know which page to prioritize in search results.
No-Index - If enabled, it tells search engines not to include a specific page in search results.
No-follow - if enabled, tells search engines not to follow the links on a page. This means that search engines won't pass on any ranking value (or "link juice") to the linked pages. It's often used for paid or sponsored links so they don't affect search rankings.
Hide Canonical - If enabled, the attribute rel="canonical" will be removed from the current page.

26. Open Graph Meta Tags allows you to configure the appearance of the Title, Description, URL, and Image of the post when shared on social media platforms
Please note that if these fields are empty and if you have "Generate Default Open Graph Meta Tags" enabled in Settings - SEO, the social media platforms will display the content from the SEO Settings of your current post

27. Code Injection allows you to add custom code into header/footer of your current post. Use the four arrows icon next to the fields to open a modal window and paste a code there for convenience.

28. Click "Save" to confirm the changes
