
1. When you navigate to the Pages tab and select a page, the Page Properties panel automatically opens. This panel allows you to set the page name, URL, and parent page, specify page visibility, and set SEO settings.
Click "Page Name" and "Page URL" to rename the page and its URL. Make sure to keep the URL short, and relevant, and include the main keyword you have chosen for the page.

2. Since the Home Page is the root of your website - it should not have a parent page. However, if you were to edit any other page, you can set a parent page in the corresponding dropdown. The parent page serves as a hub for related pages (child pages) grouped under it. For example, the parent page "Ministries" and its children "Outreach Ministry", "Worship Ministry"

3. Visibility allows you to make your page public or password-protected. If you need password-protected visibility, select it from the dropdown menu.

In addition to this, any other page except the Home page allows you to turn the page into a Draft. Please refer to this guide for Page Statuses.
4. You can use a general password for all pages or use a unique password for each page. If you click the "Change Password" button, it will prompt you to specify the General Password in the Settings tab

5. The SEO Settings block allows you to configure the following: Meta Title, Meta Description, Meta Keywords, Canonical URL, No-Index, No-follow, Hide Canonical
Meta Title is the name of your page displayed in the browser tab and search engine results. Make sure to use unique titles for each of your website pages. Check out this SEO Optimization guide for further information.
Meta Description is the text under the Meta Title, it describes what the page is about and can help you attract more visitors from the organic search.
Meta Keywords is a snippet of information used to tell search engines what the page should be ranked for. It is not used by most search engines now and will not have a strong influence on your ranking. If you still want to use it, make sure to pick several highly-relevant keywords, which are presented within the content of this page. If this field is empty, the meta tag keywords will not be visible in the code.
A canonical URL is the URL of your website page that should be considered official or primary when there are multiple pages with similar or duplicate content. This helps prevent issues with duplicate content and ensures that search engines know which page to prioritize in search results.
No-Index -if enabled, tells search engines not to include a specific page in search results.
No-follow - if enabled, tells search engines not to follow the links on a page. This means that search engines won't pass on any ranking value (or "link juice") to the linked pages. It's often used for paid or sponsored links so they don't affect search rankings.
Hide Canonical - If enabled, attribute rel="canonical" will be removed from the current page.

You can click the four arrows icon next to "Description" or "Keywords" to open a larger pop-up window and easily add your Meta Description and Keywords.
6. Open Graph Meta Tags allow you to configure the appearance of the Title, Description, URL, and Image of the page when shared on social media platforms.
Please note that if these fields are empty and if you have "Generate Default Open Graph Meta Tags" enabled in Settings - SEO, the social media platforms will display the content from the SEO Settings of your current page.

7. Code Injection allows you to add custom code to the header/footer of your current page. You can also execute code with the Embed Widget on your current page or in Settings - Code Injection if you want to execute the code across the entire website

Managing Header, Footer, and Background Style
8. Switch to the Design tab. Here you can manage the Header, Footer, and Background Style for your current page.

9. Select from the dropdown an existing Header you wish to set for your current page.

10. If you need to hide the Header for your current page, you can deselect the corresponding checkbox.

11. The four icons next to the checkbox allow you to create a new header, rename an existing header, duplicate a header, or delete a header. The same applies to the footer.
The original Header and Footer can not be deleted, you can only delete the ones you created yourself.

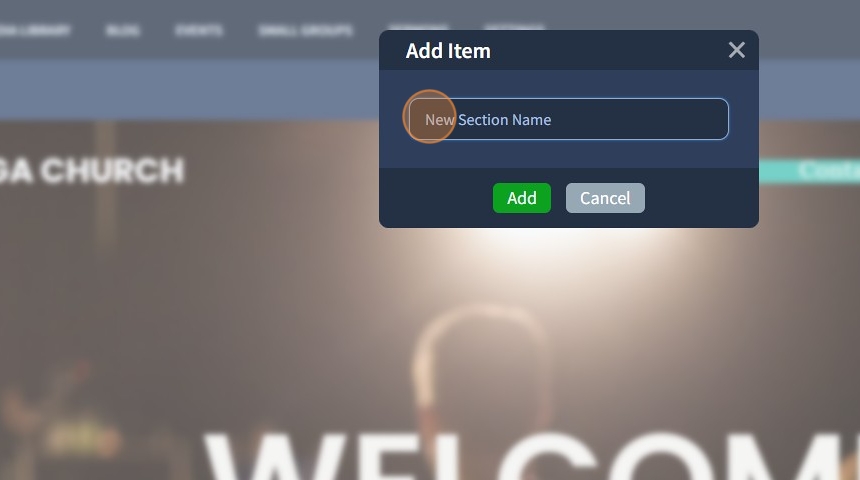
12. After you click the "+" icon, you'll be prompted to specify a name for the new Header. Click "Add" to complete the addition.
13. After creating a new Header, you'll see that it's empty. Click on the Header section to add widgets to it.

Notice that the Content section is greyed out when editing the Header or Footer because these sections are managed separately. This prevents accidental changes to the main page content while you focus on editing the shared Header or Footer, which appears across multiple pages.
14. You can also see that the new Header is already selected from the dropdown.

15. After you click the pencil icon, you'll be prompted to specify the new name for the existing Header. Click "Apply"

16. After you click the duplicate icon you'll be prompted to confirm if you wish to proceed. Click "Yes".

17. After you click the bin icon you'll be prompted to confirm if you wish to delete the new header. Click "Yes" to proceed.

18. Select a Background Style from the dropdown. Click "My Backgrounds" to edit your background in the Design tab

19. Click "Save" to confirm the changes.
