
1. The Blog Main Page allows you to configure the appearance of the Blog Home Page. By default, it has the following widgets: Post List, Recent Posts

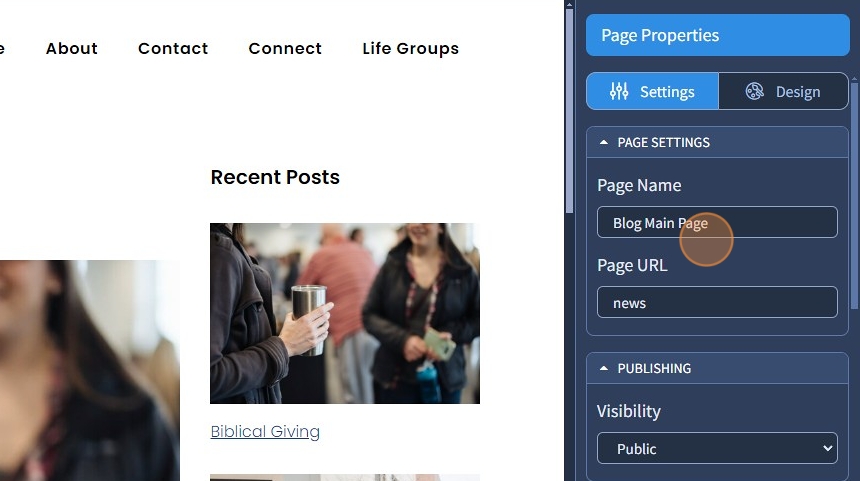
2. The Page Properties within the Blog are the same as in regular Page Propeties, except you can not use Parent Page for the Blog's Main Page. Check this guide for more information on Page Properties.
3. You can add the following widgets to the Blog Main Page: Filters, Search, Applied Filters, Recent Posts, Category List, Tag List, Post List

Post List
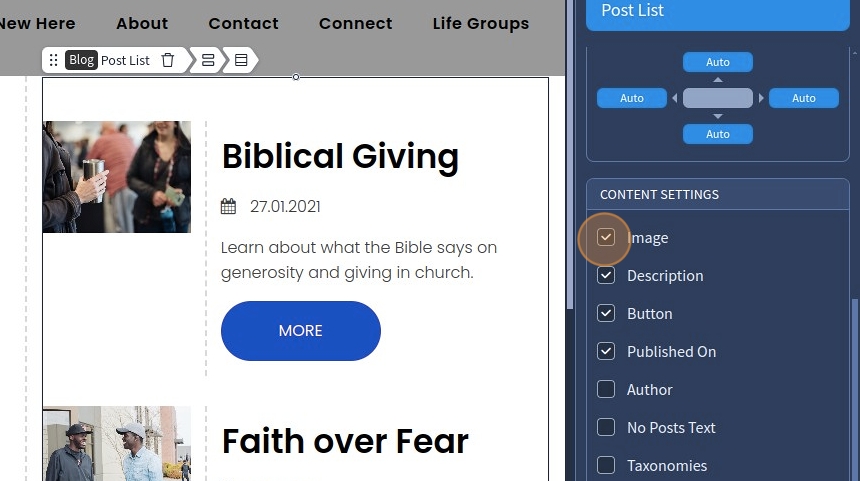
4. Post List is a widget that shows all published posts, and its layout consists of Post Name, Date, Image, Description, Button, Horizontal Divider
Select the Post List widget to edit the Settings described in Step 5 and further

5. Click "Change Layout" to select a different grid layout for the Post List.
Note that based on the layout you select, it will have a few different features; for example, the default layout doesn't have Vertical Alignment, Post Image Position, and Content Padding

6. Select the required layout and click "Apply"

7. Specify the number of posts to be displayed. The maximum amount of posts that can be displayed is 20

8. Click the "Button Label" field to rename the "More" button for every post

9. Select Vertical Alignment for the Post List content. It can be aligned to the top, middle, or bottom

10. Specify Post Image Position. The left and right options are available.

11. Use Content Padding to adjust the spacing around Post List content

12. Select what content should be displayed in the Post List in Content Settings. The following options are available: Image, Description, Button, Published On, Author, No Posts Text, Taxonomies
No Posts Text - if enabled, allows you to rename the text that shows when someone does an incorrect search with the Search widget.
Taxonomies - allows you to show taxonomies on the Post List for every post.
13. Switch to the Design tab

14. Most features here are identical. You can modify the following sections: Background, Post Name, Image, Description, Button, Published On, No Posts Text, Pagination
Set Alignment for different devices, change Text Style, add Spacing, select Preset, change Background color, etc.

15. Click "Save" to confirm the changes

Recent Posts
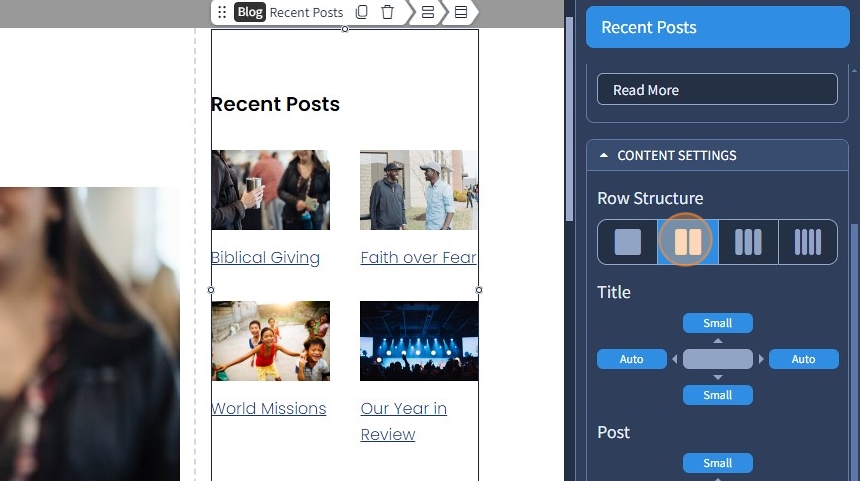
16. Recent Posts is a widget that shows the most recent posts
Select the Recent Posts widget to edit the Settings described in Step 17 and further

17. It should also be noted that the Recent Posts widget can be used in the Pages section, which is at the top, in case you want to show your recent posts on regular pages

18. Click "Change Layout" to select a different grid layout for the Recent Posts widget.
Note that based on the layout you select, it will have a few different features; for example, the default layout doesn't have Vertical Alignment, Post Image Position, and Content Padding

19. Select the required layout and click "Apply"

20. Select from the dropdown if you need the Recent Posts to only show posts that have taxonomies applied to them

21. Specify the Posts Amount for Recent Posts. The maximum amount is 20

22. Specify the title for Recent Posts

23. Specify the Button Label for each recent post (can be enabled in Content Settings)

24. Specify how many columns the Recent Posts should have in its Row Structure. You can have two columns, three and four.
25. Use Title and Post spacing to adjust the spacing around the Recent Posts title and the posts.

26. Specify what content should be displayed in Recent Posts. The following options are available: Image, Published On, Author, Short Description, Button

27. Specify the spacing around the Post Name and Image

28. Switch to the Design tab

29. Most features here are identical. You can modify the following sections: Title Style, Post Name Style, Image Preset, Published On Style, Author Style, Button Preset, Button Size
Set Alignment for different devices, change Text Style, select Preset, change Button size, etc.

30. Click "Save" to confirm the changes
